
Overview
Staff use the back-office console to review applications and open accounts in branch for the Banno integration.- Applications: view and manage all applications.
- Open an Account: open an account for an applicant in branch.
- Audit Log: see all staff activity.
- Manage Users: add staff and set their roles.
1. Signing In
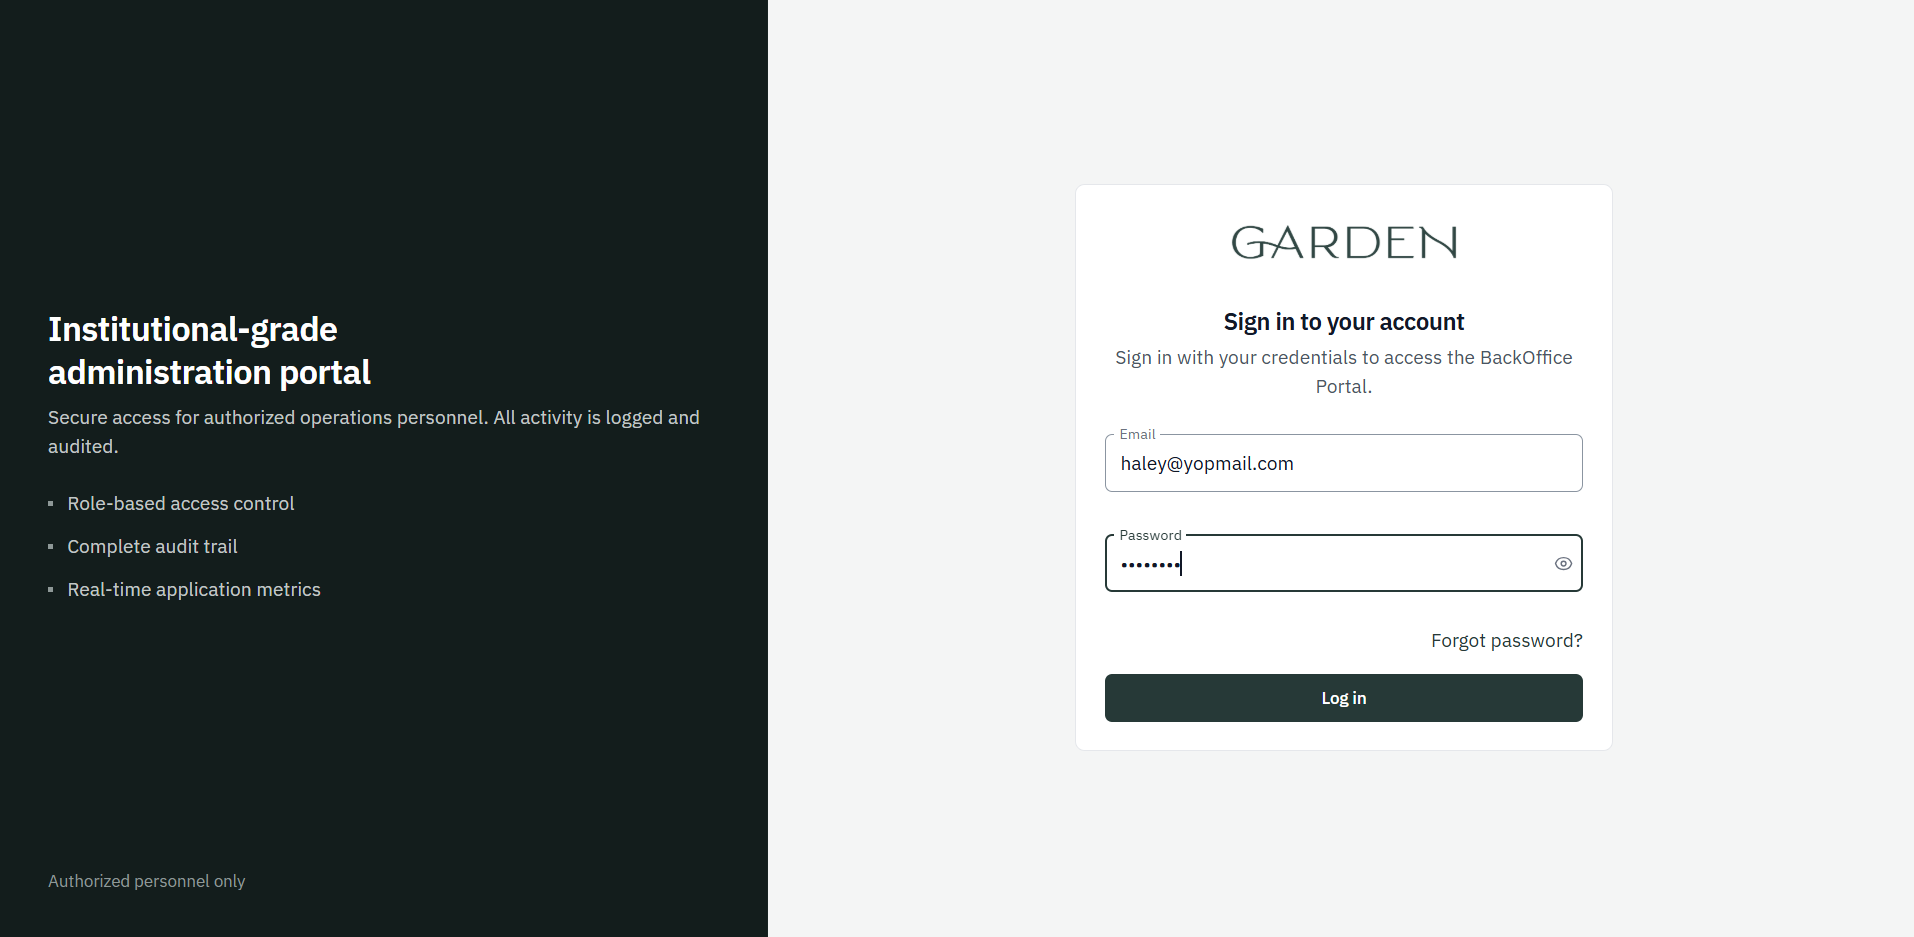 Sign in with your email and password. Use Forgot password? to reset it. The console signs you out after a few minutes of inactivity.
2. Applications List
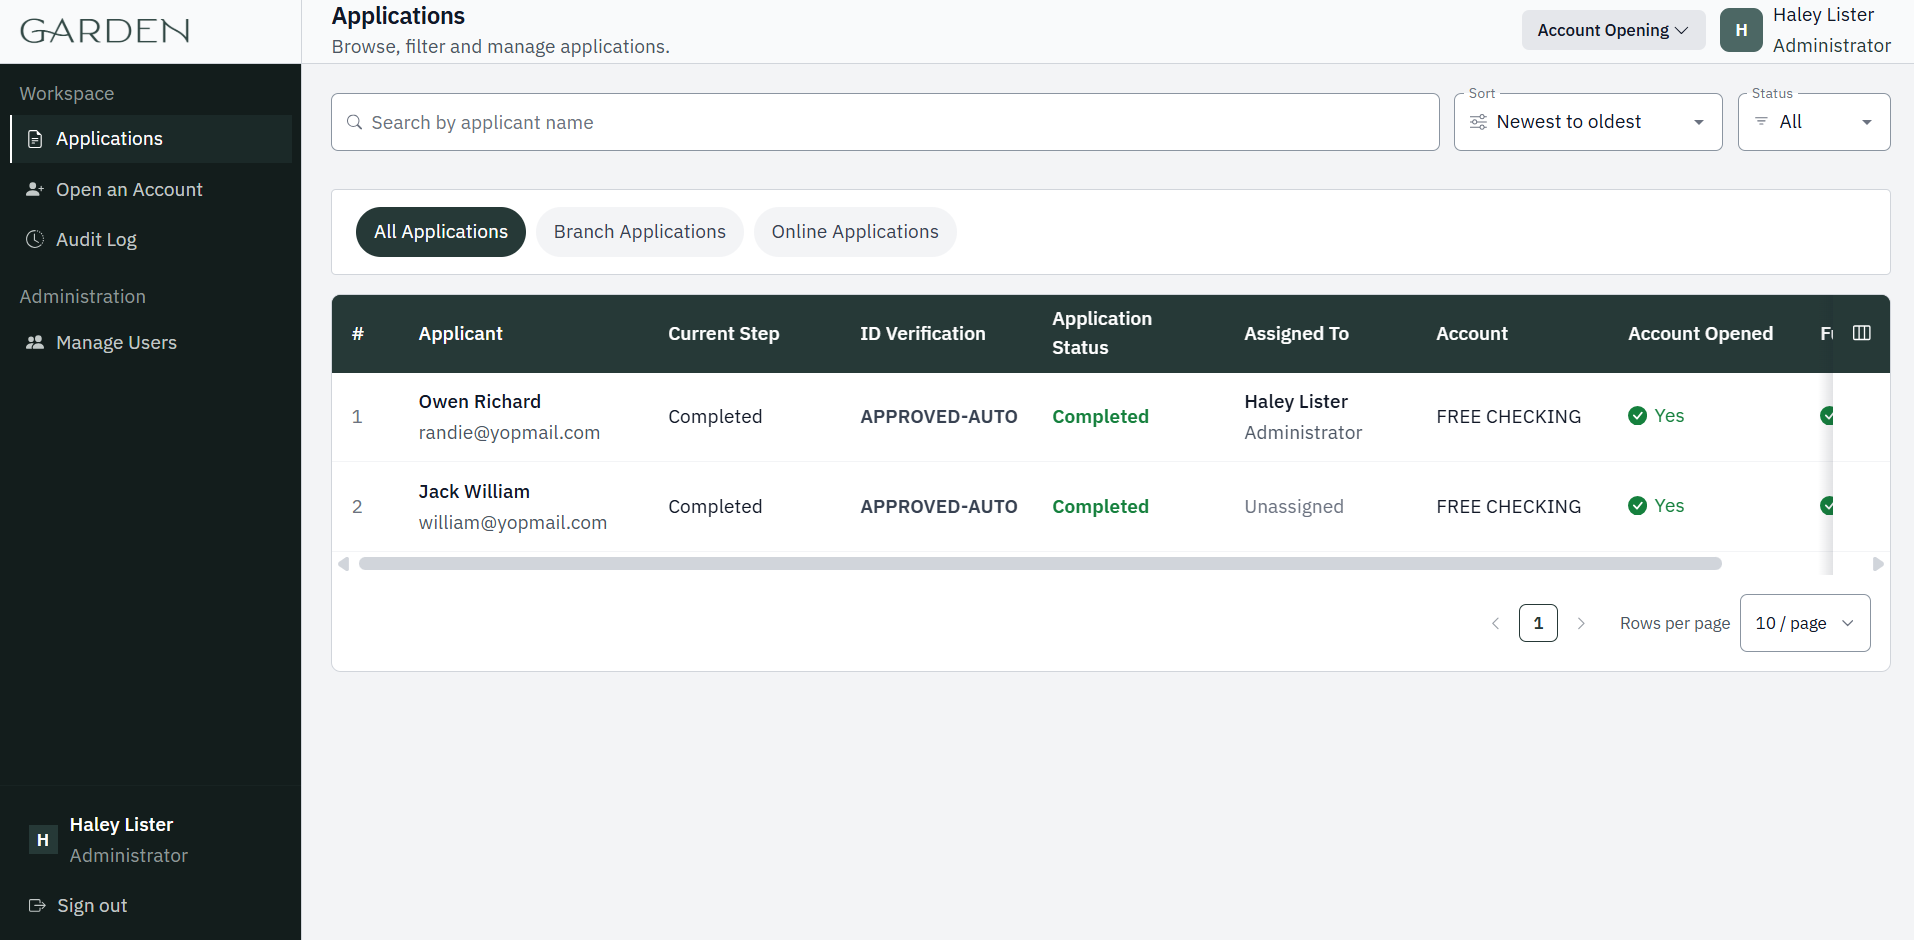 The Applications page lists every application. Use the tabs to switch between All, Branch, and Online applications.
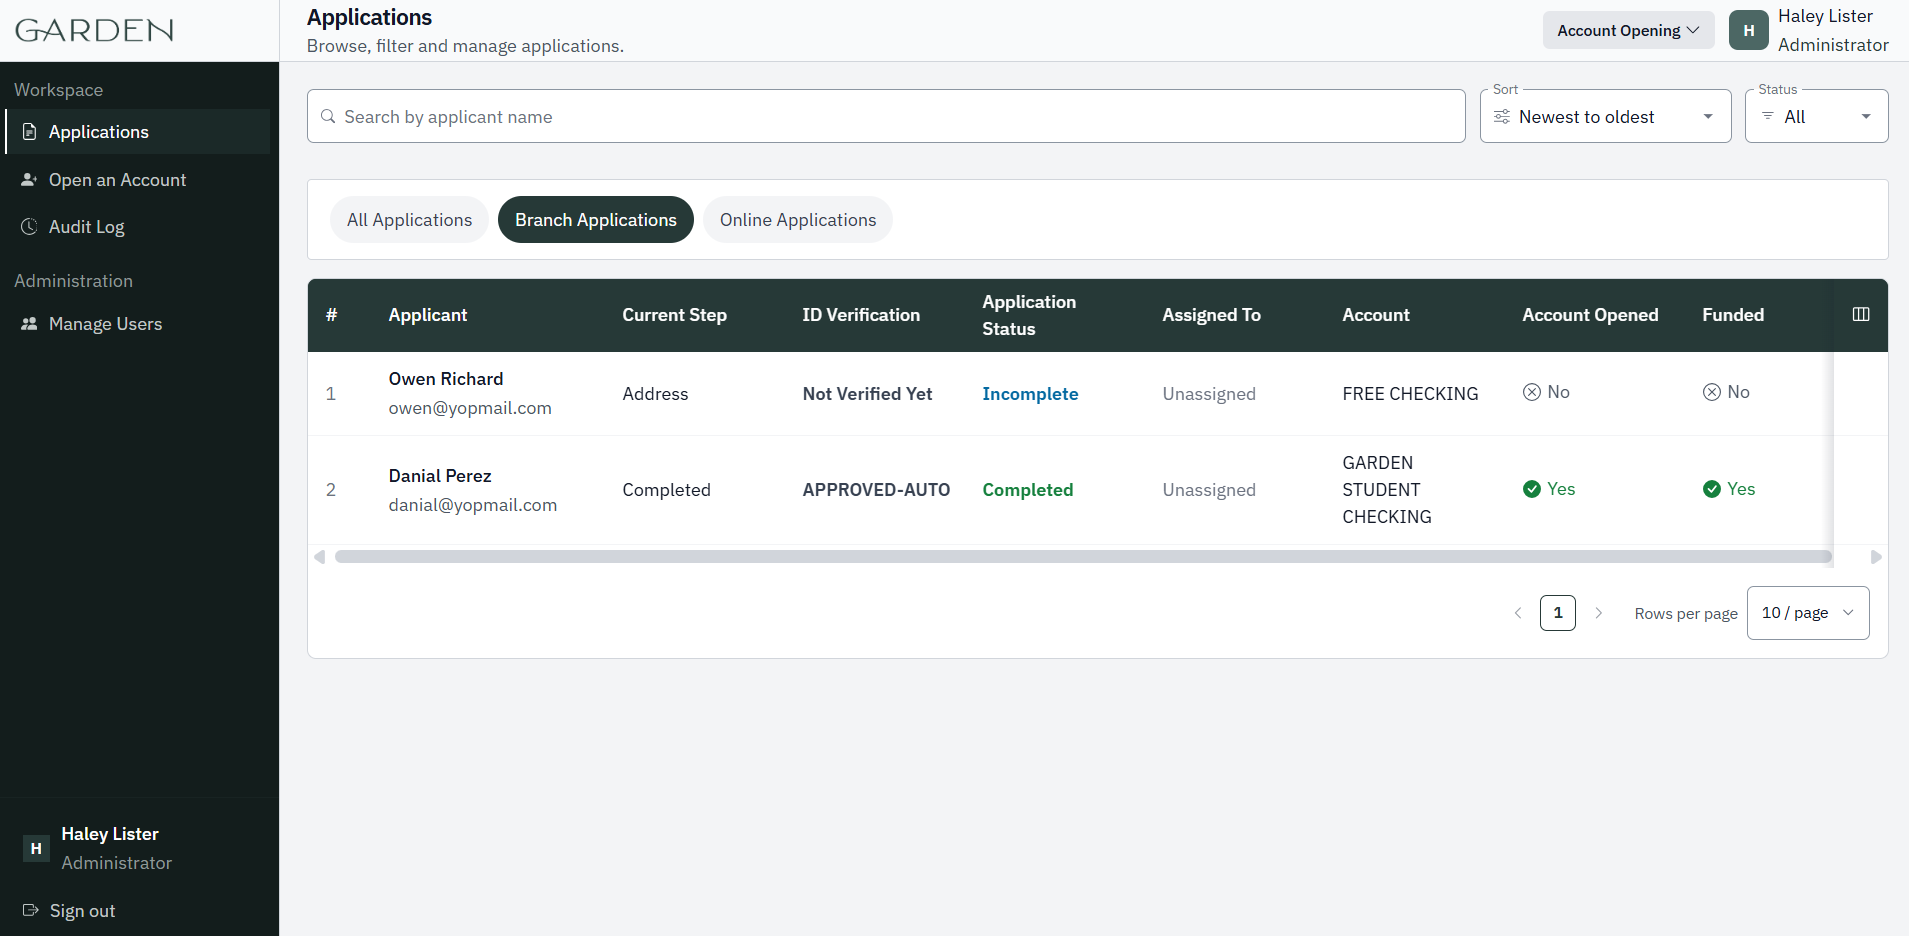
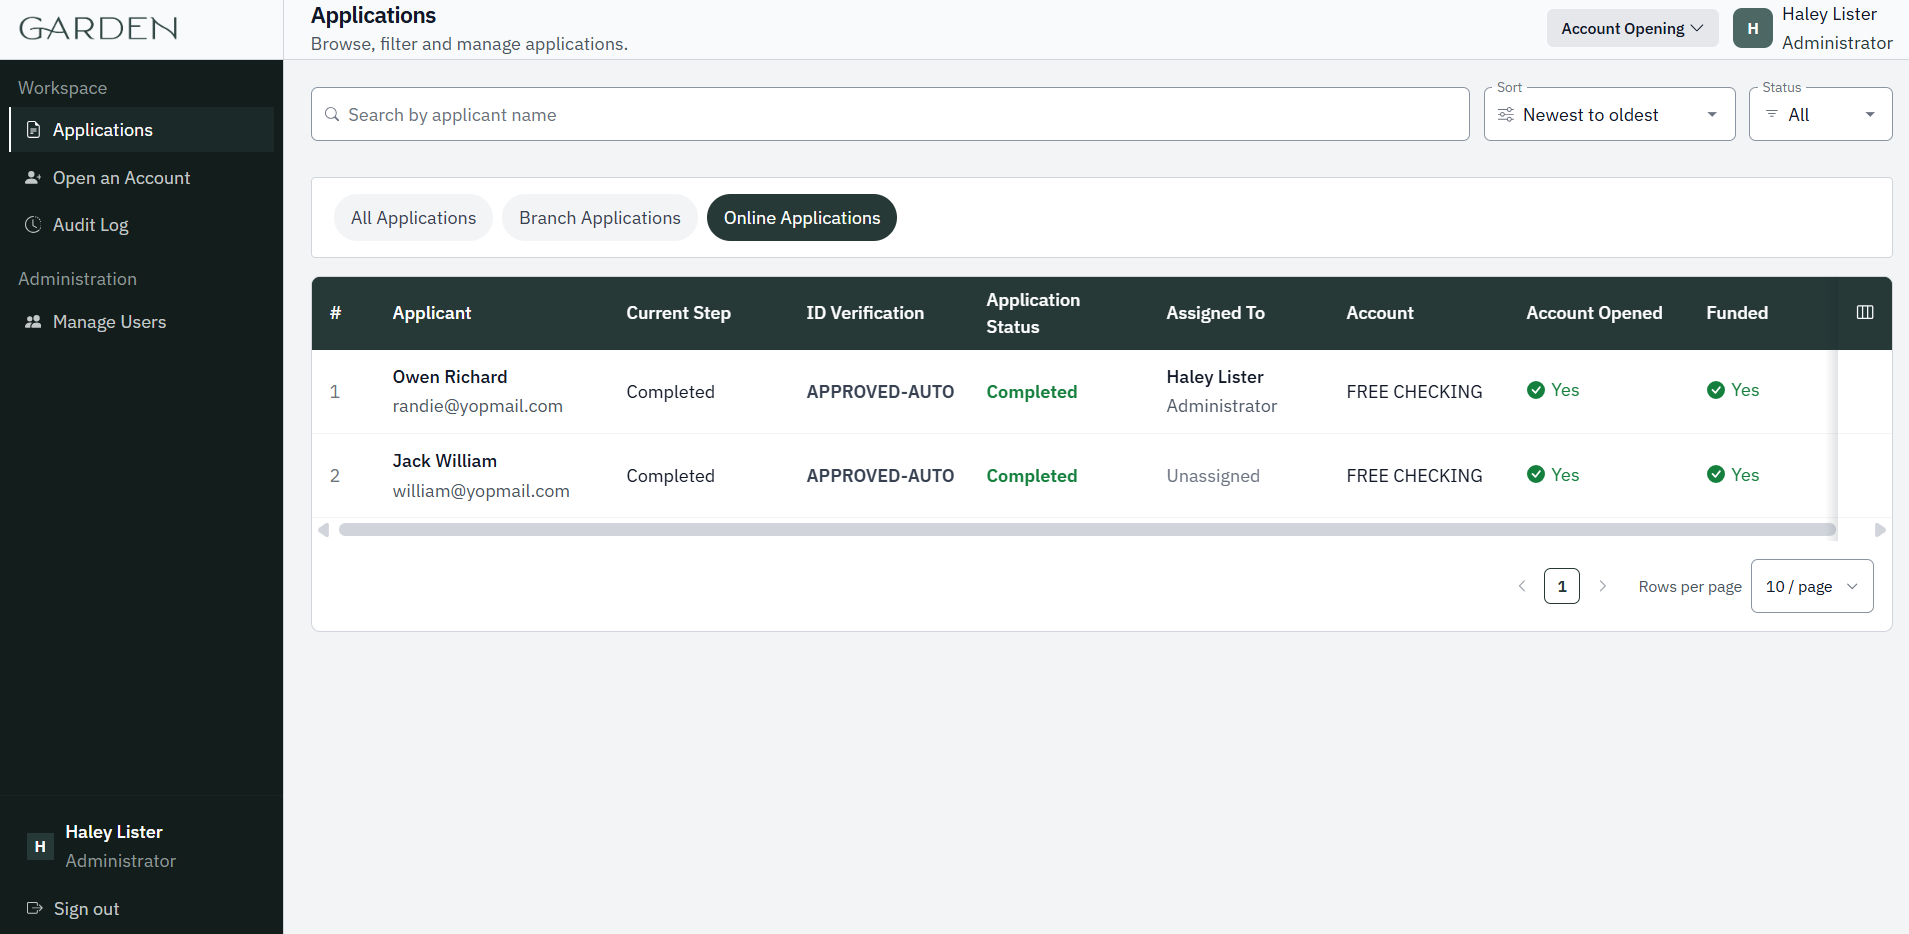 Search by applicant name, sort by date, or filter by Status.
3. Opening an Account in Branch
Use Open an Account to open an account in seven steps. Progress is saved after each step, and the progress bar shows the current step and the next one.Before you start: Look up the applicant
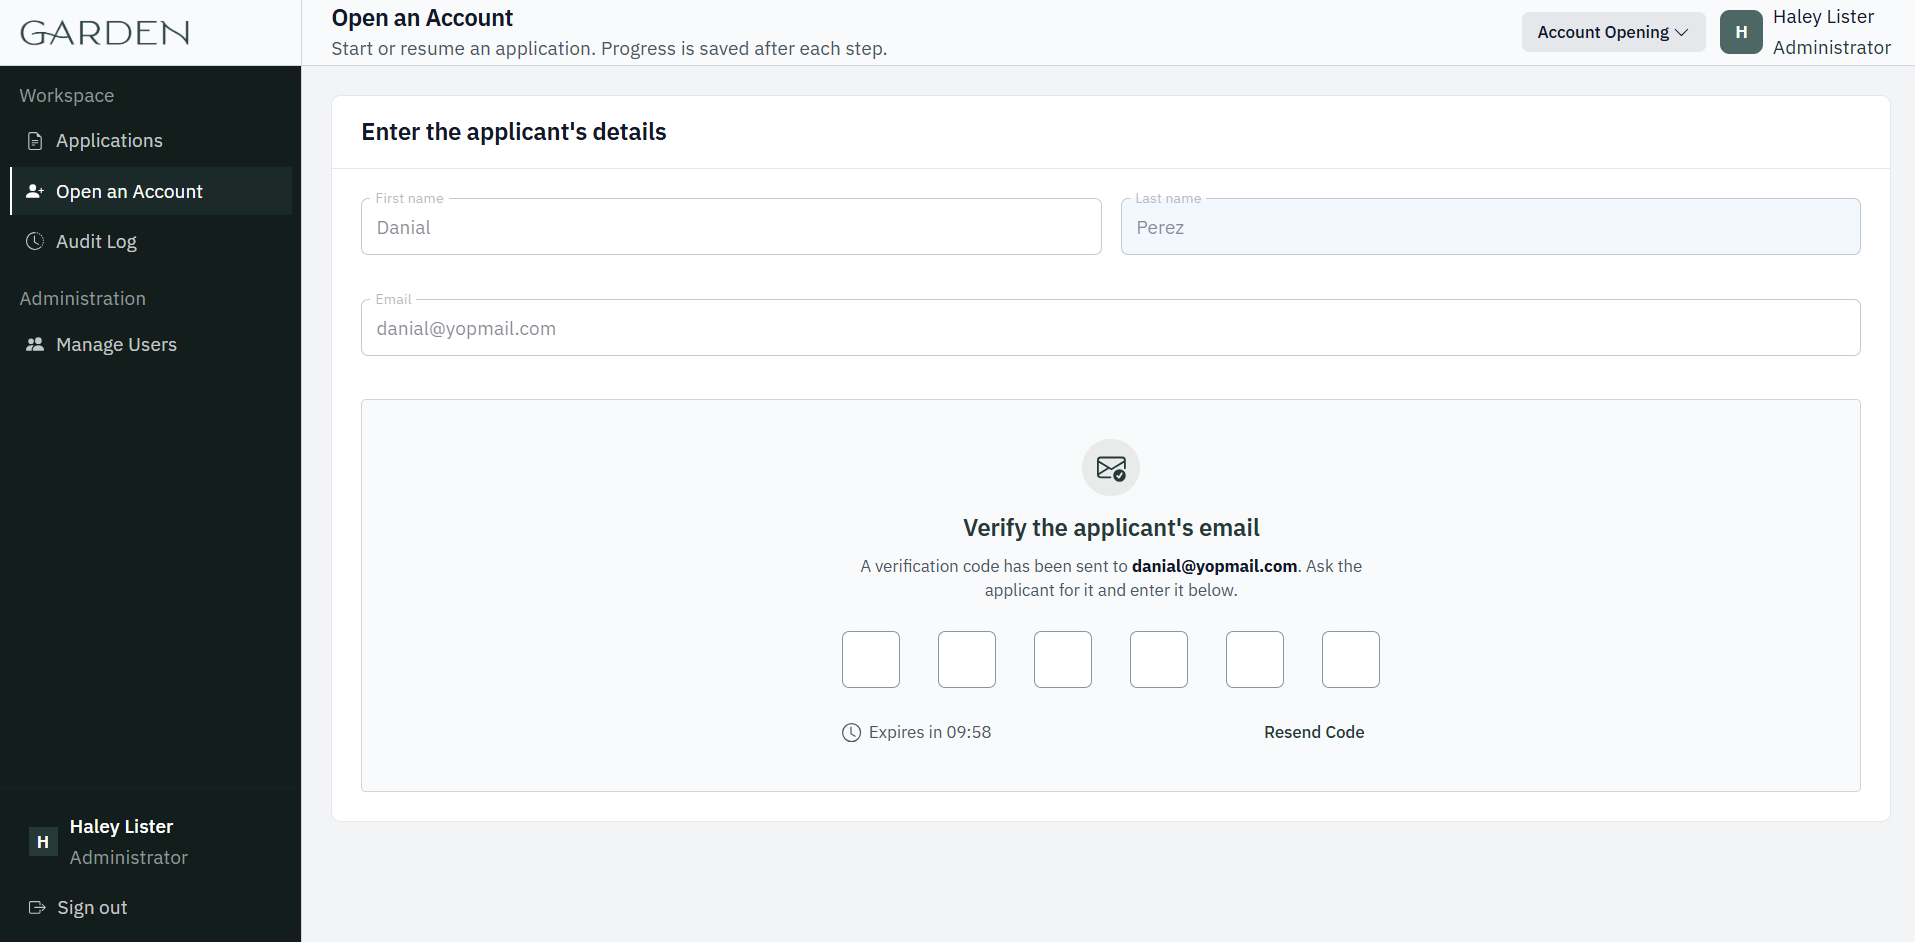
Enter the applicant’s email and click Look Up Application. If no application is found, click Start New Application.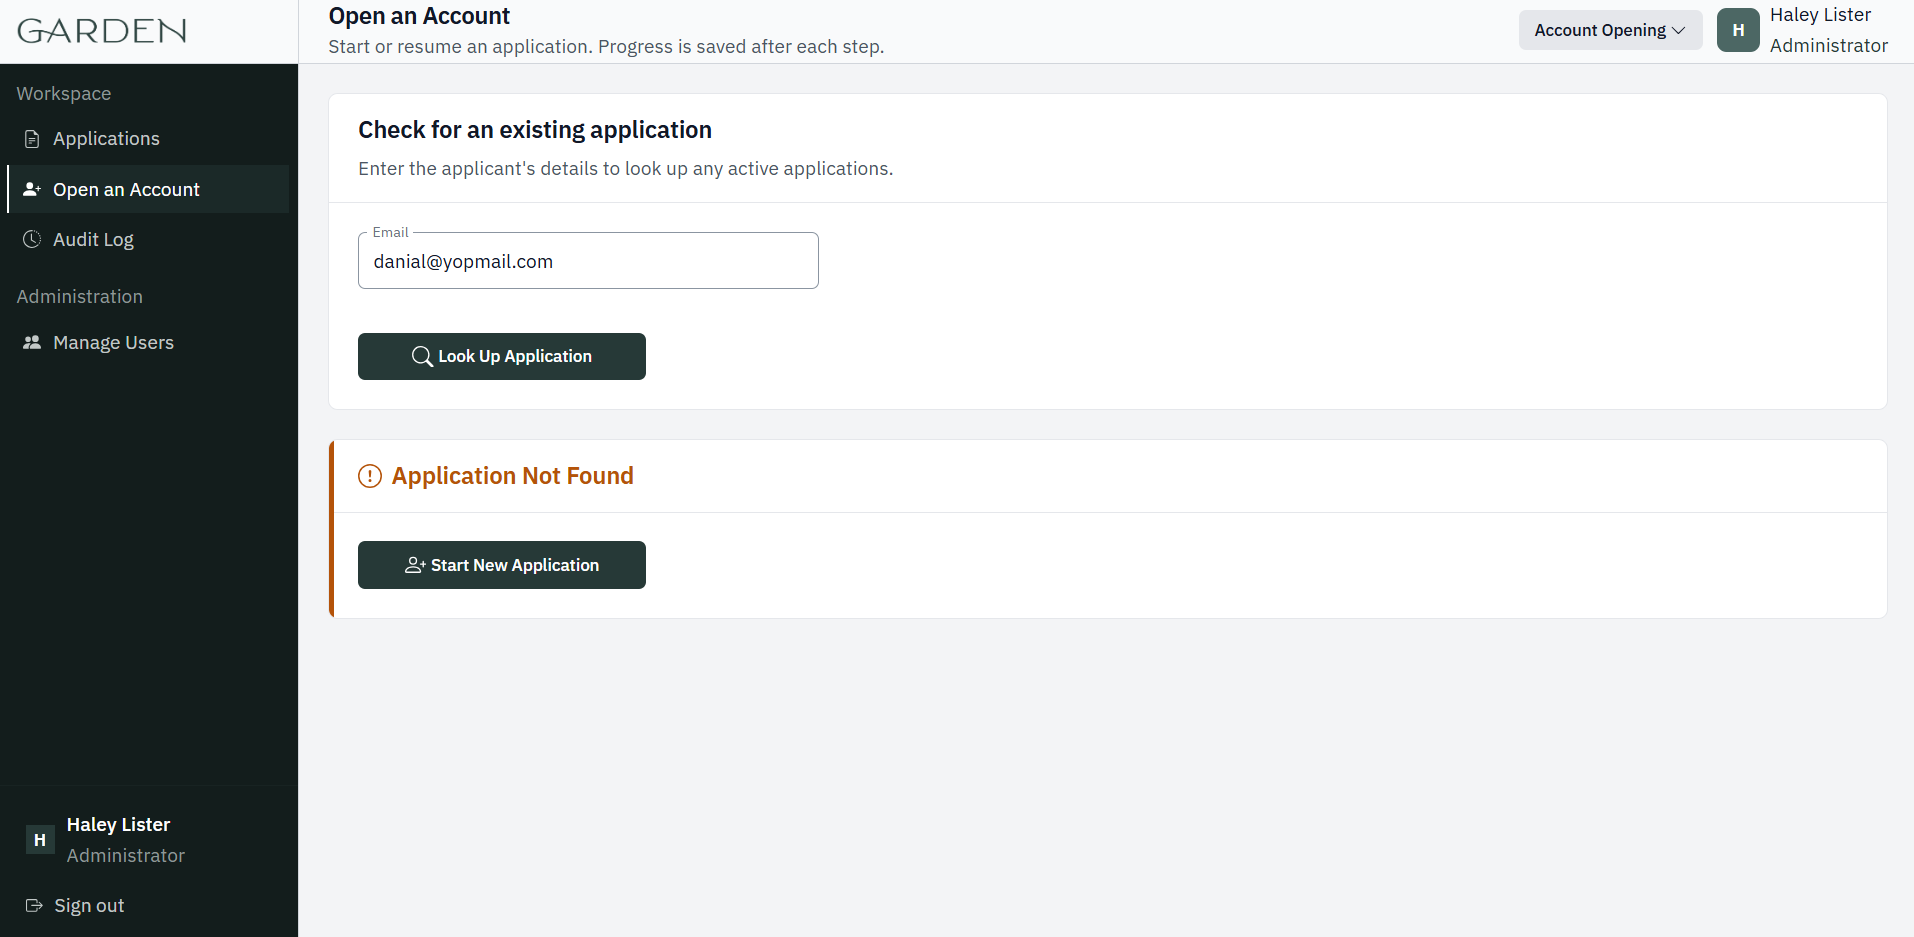 Enter the applicant’s name and email, then enter the 6-digit code the applicant receives by email. It expires in 10 minutes.
Step 1: Select account type
Pick a product and click Select account.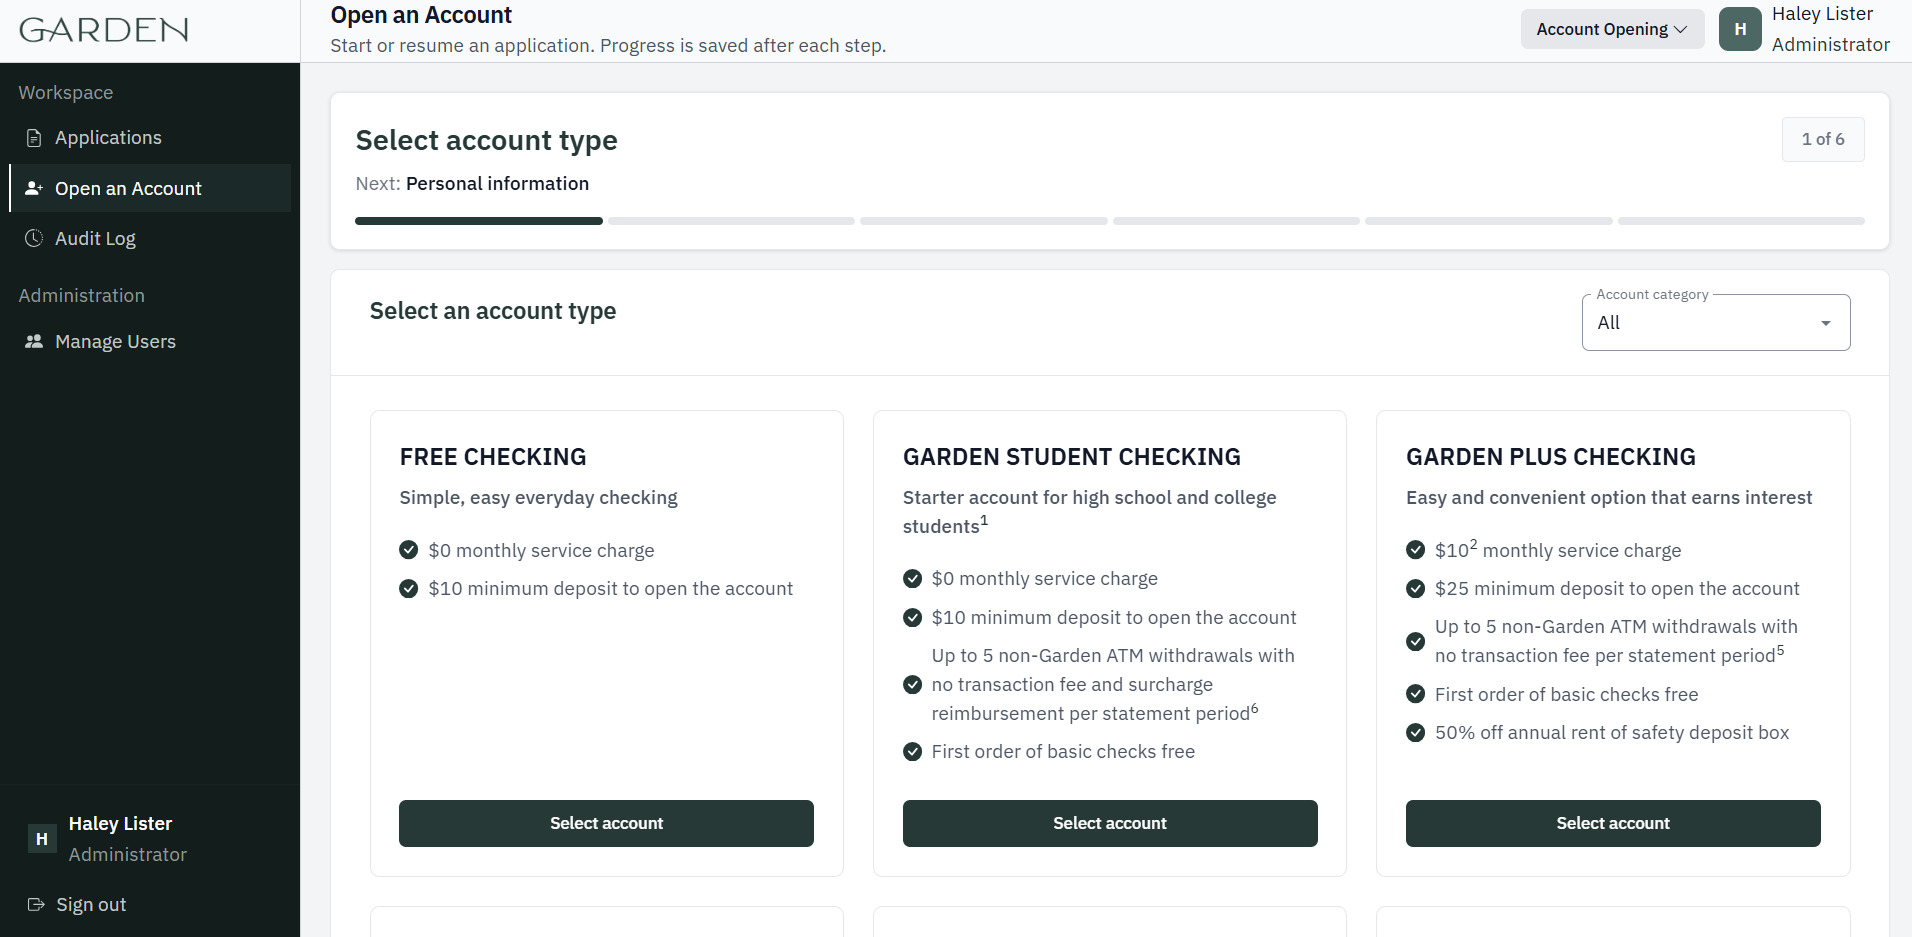
Step 2: Personal information
Enter the applicant’s phone number and address. Then choose an employment status. If Employed, enter the employer and occupation.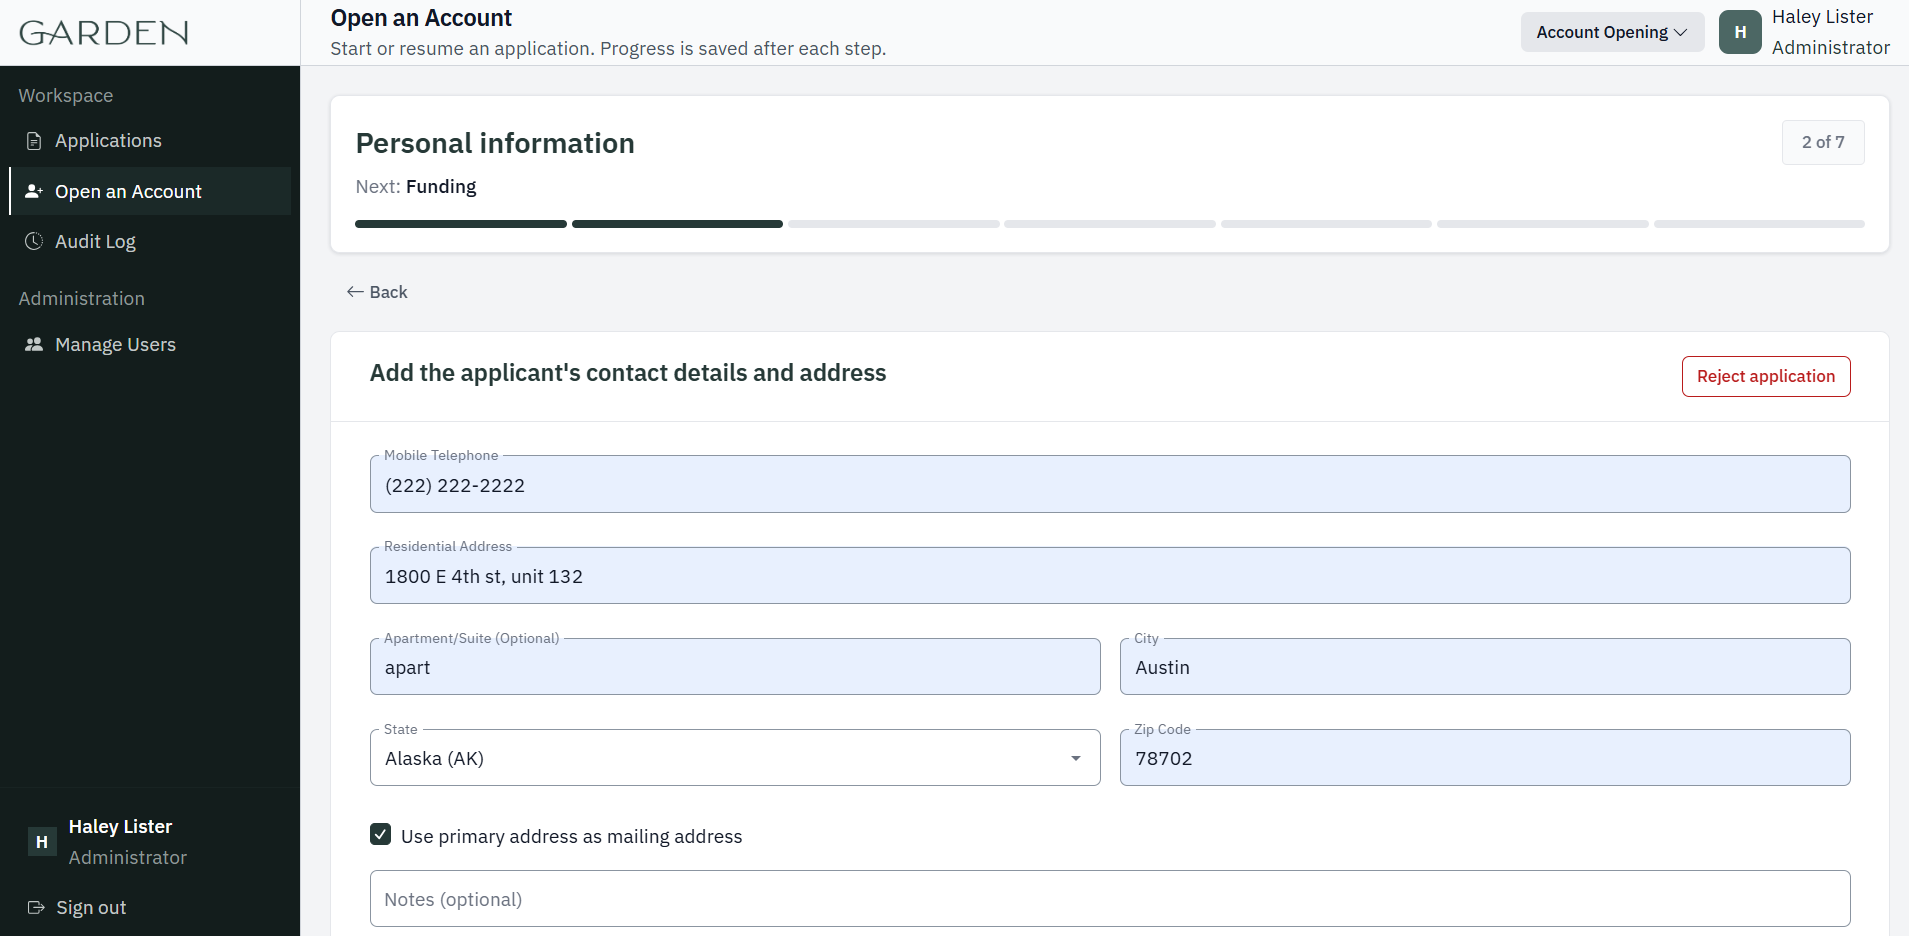
Step 3: Funding
Enter the deposit amount, transaction type, and reference number. The amount must meet the product’s minimum deposit.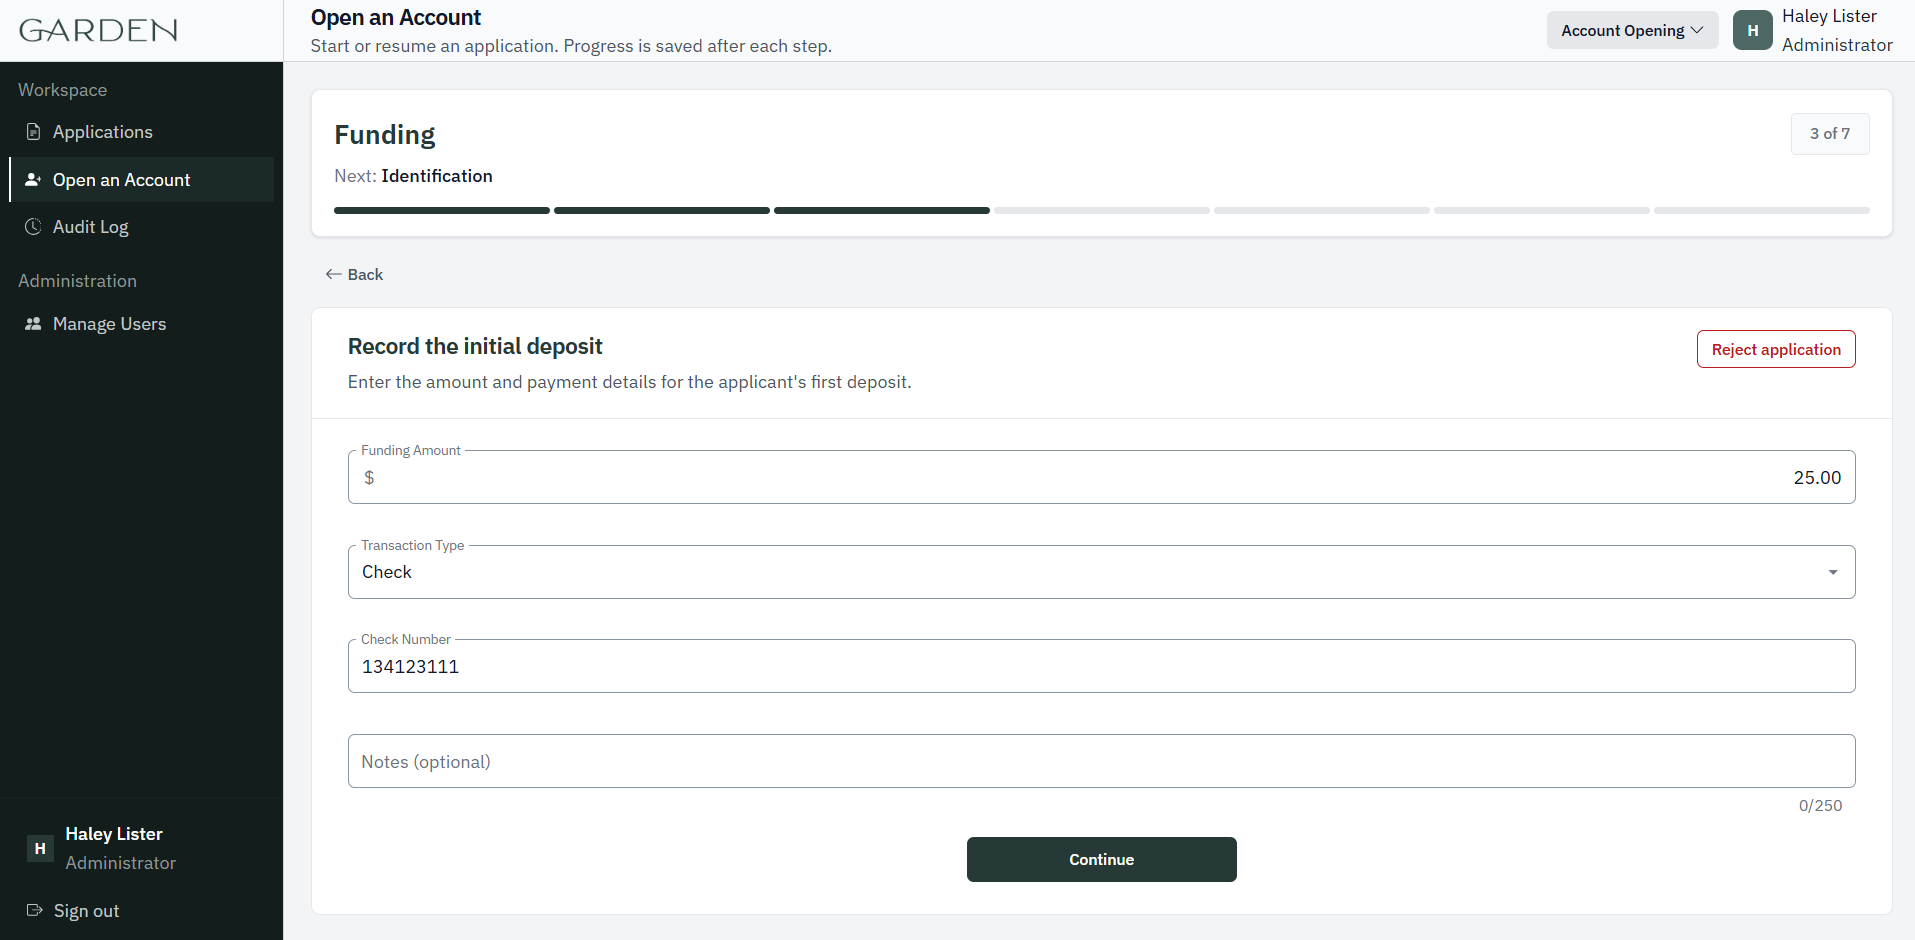
Step 4: Identification
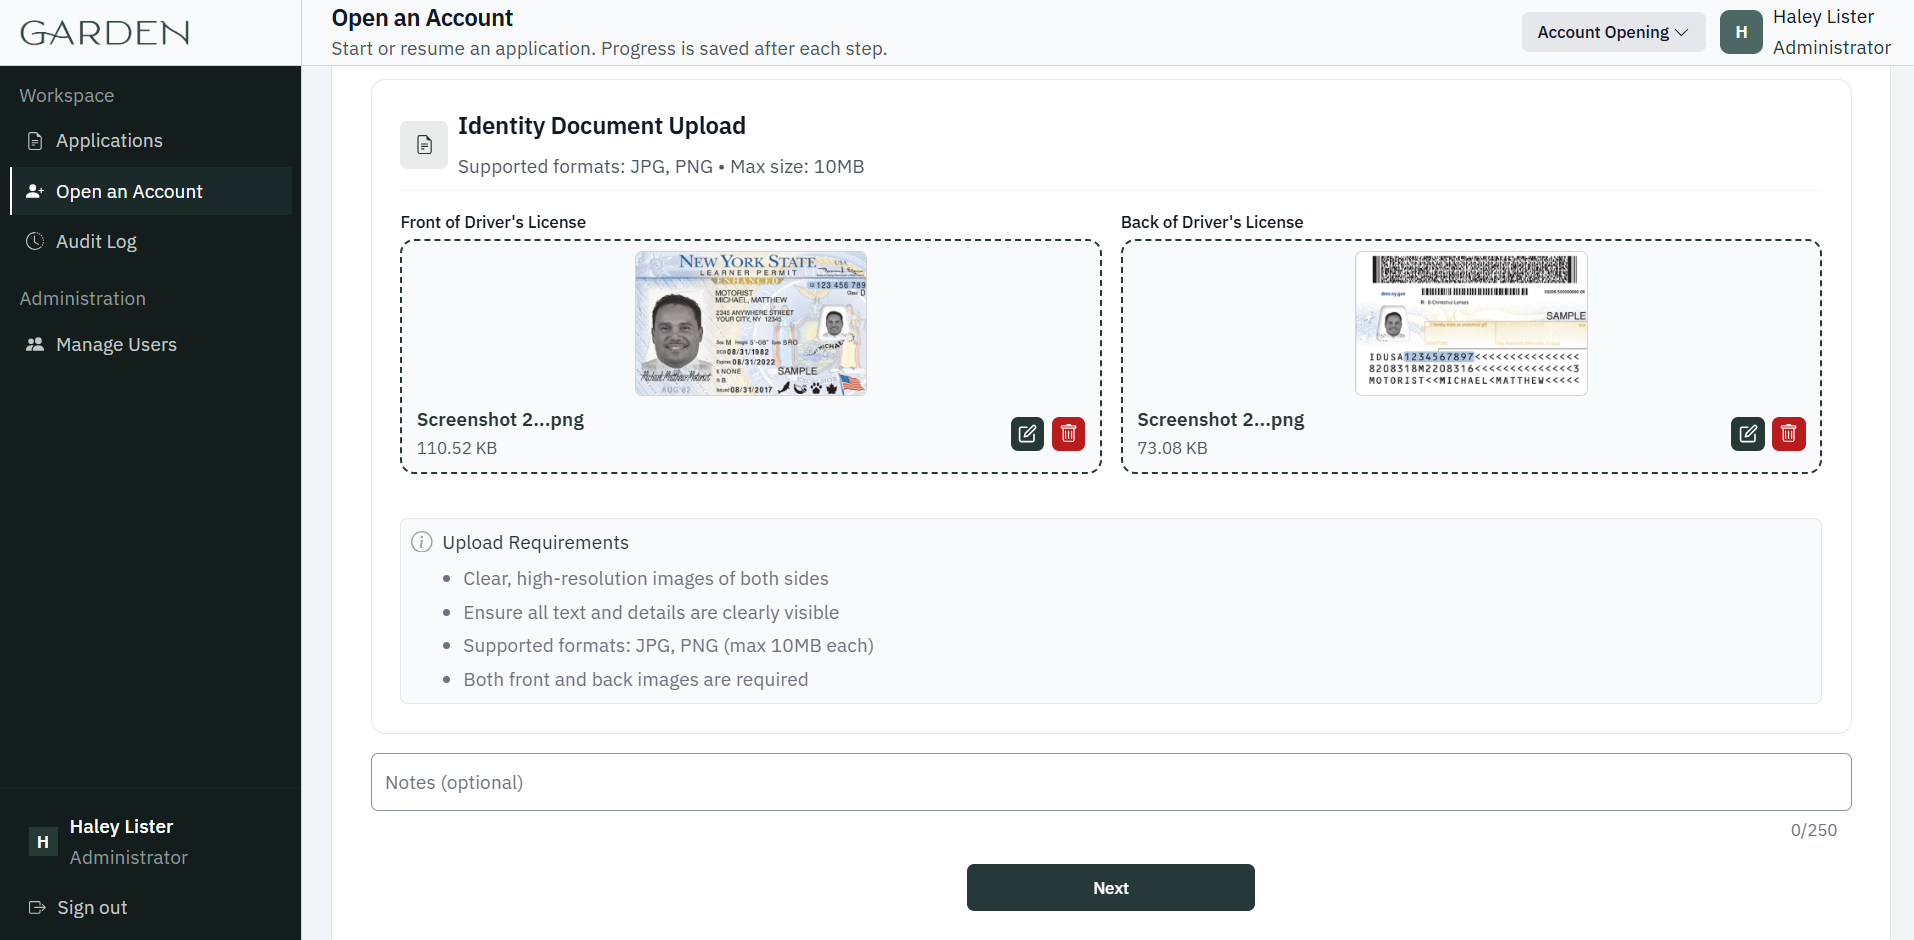
Enter the SSN, date of birth, mother’s maiden name, and ID details.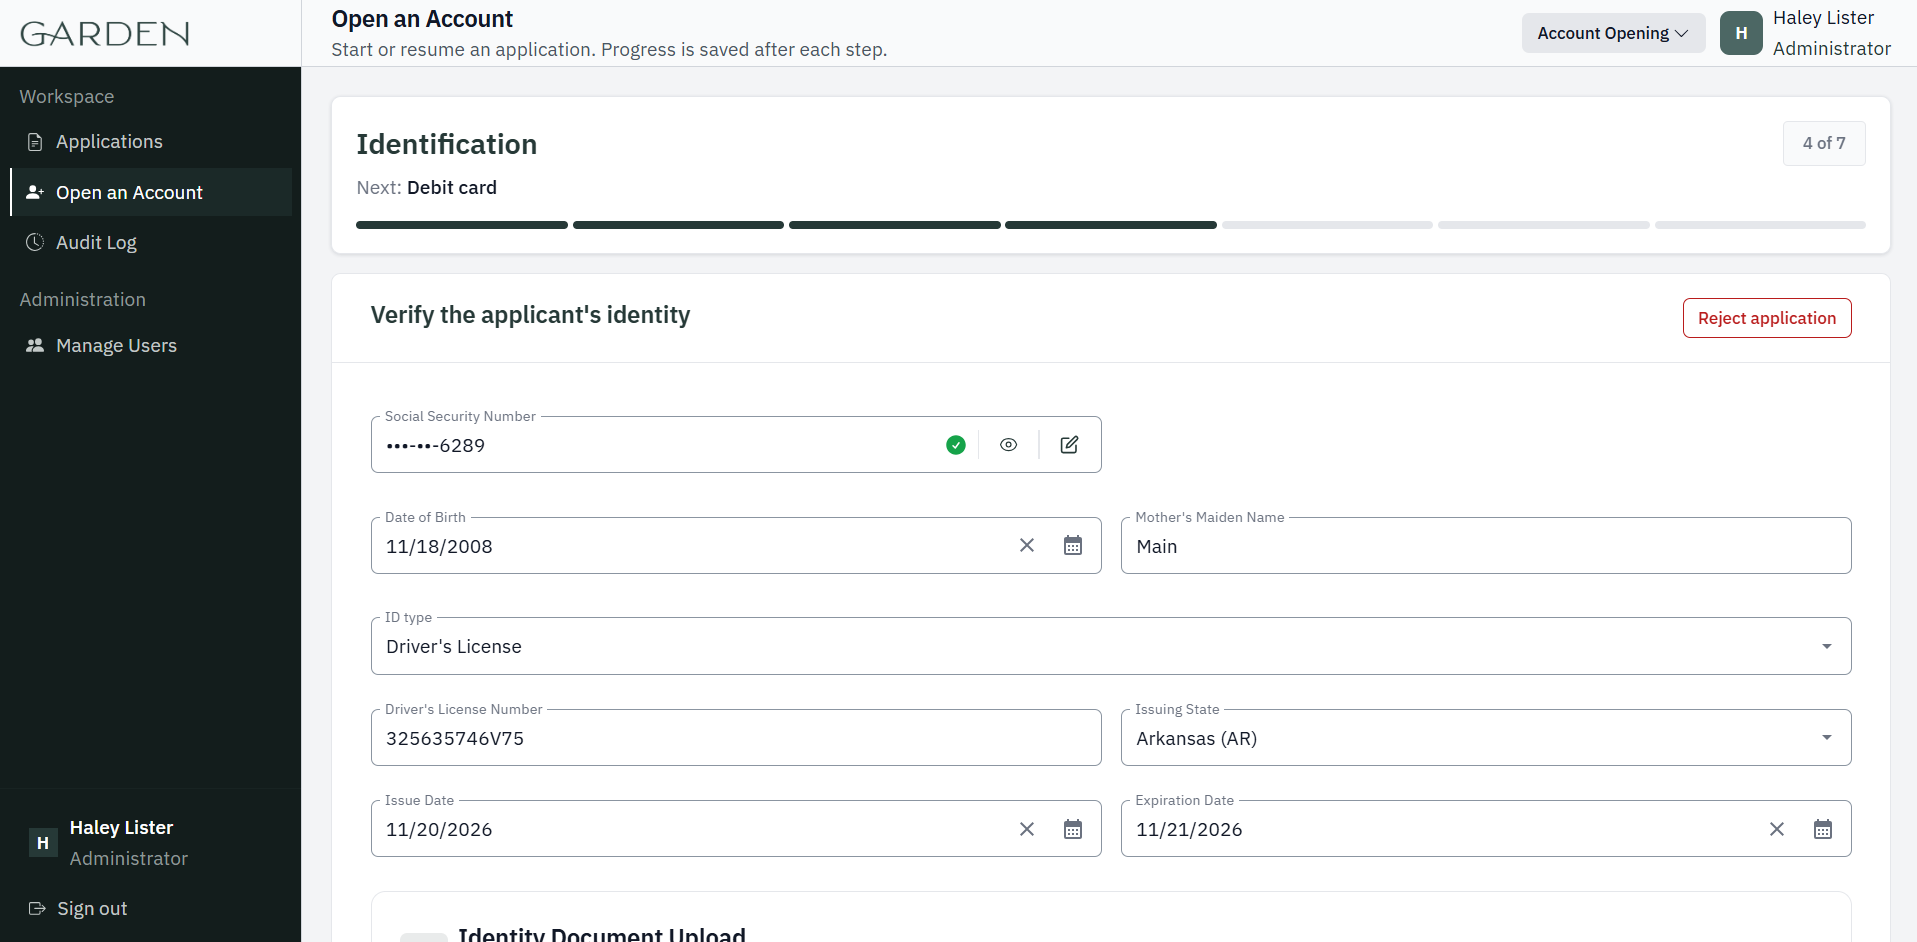 Upload clear images of the front and back of the applicant’s ID. Images must be JPG or PNG files, up to 10 MB each.
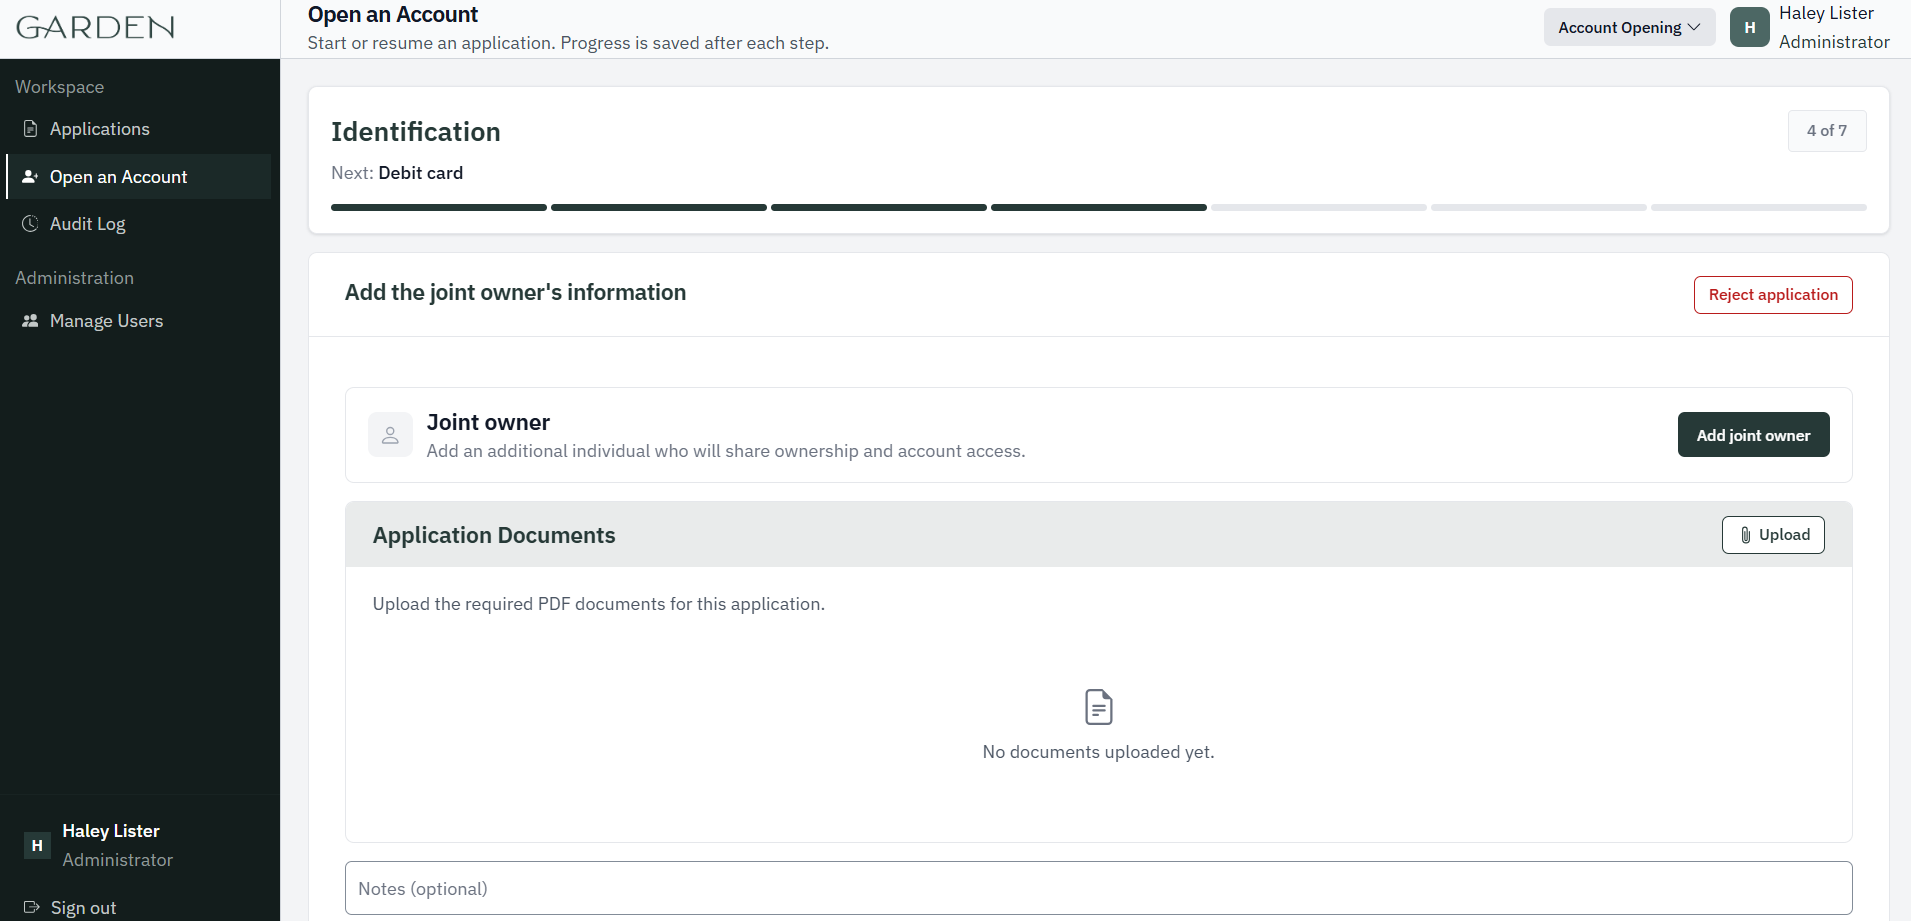
 To add a joint owner, click Add joint owner. You can add up to five, and each one must be verified.
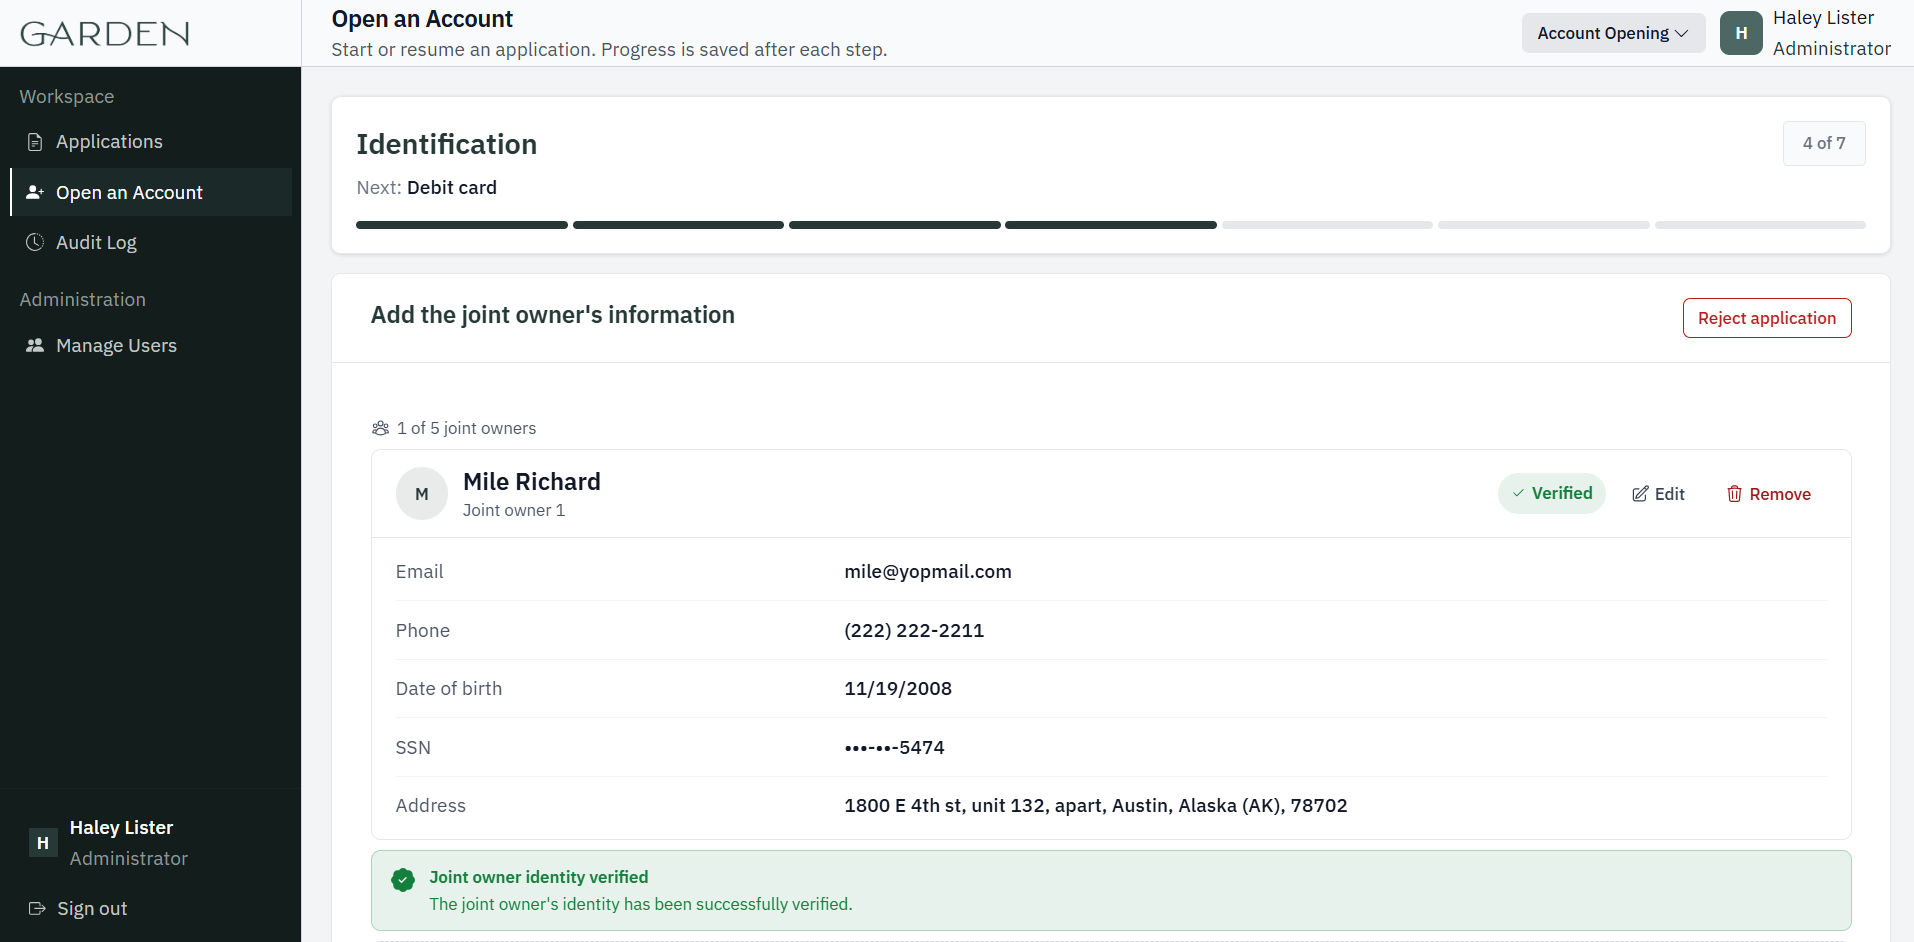 Click Send Request to send the account disclosures to the applicant and each joint owner for e-signature. Everyone must sign before you can continue.
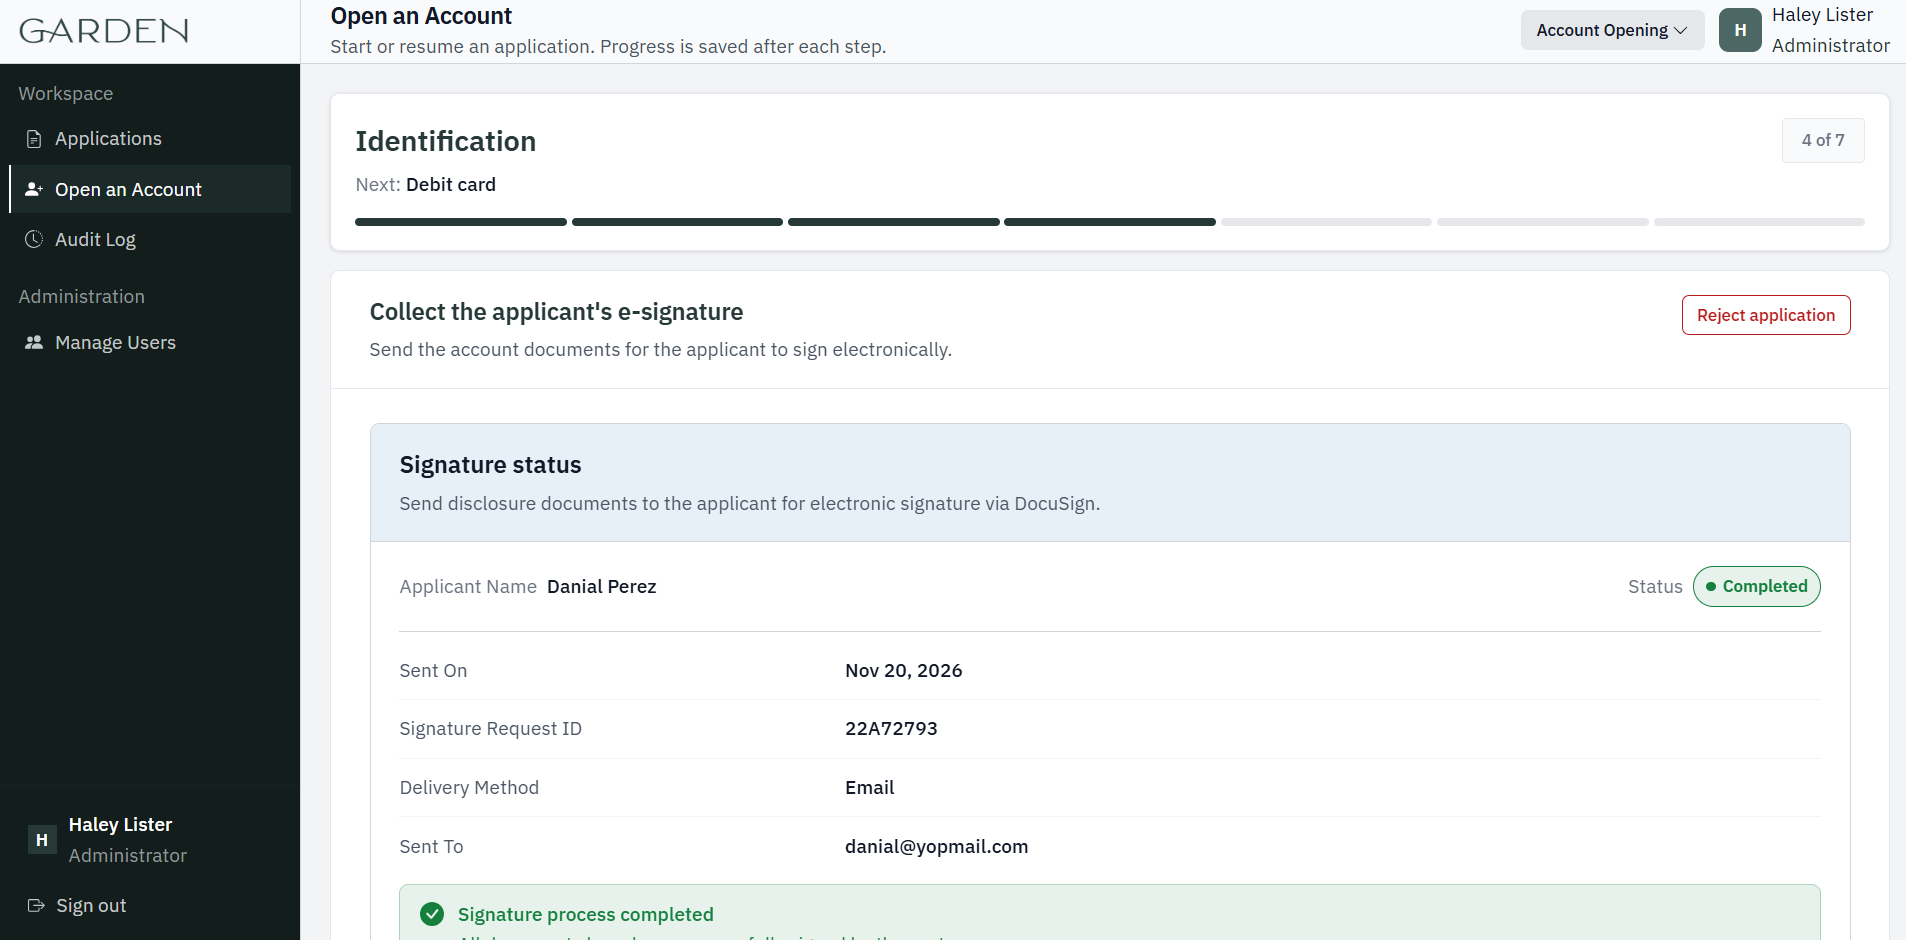
Step 5: Debit card
Select whether the applicant wants a debit card.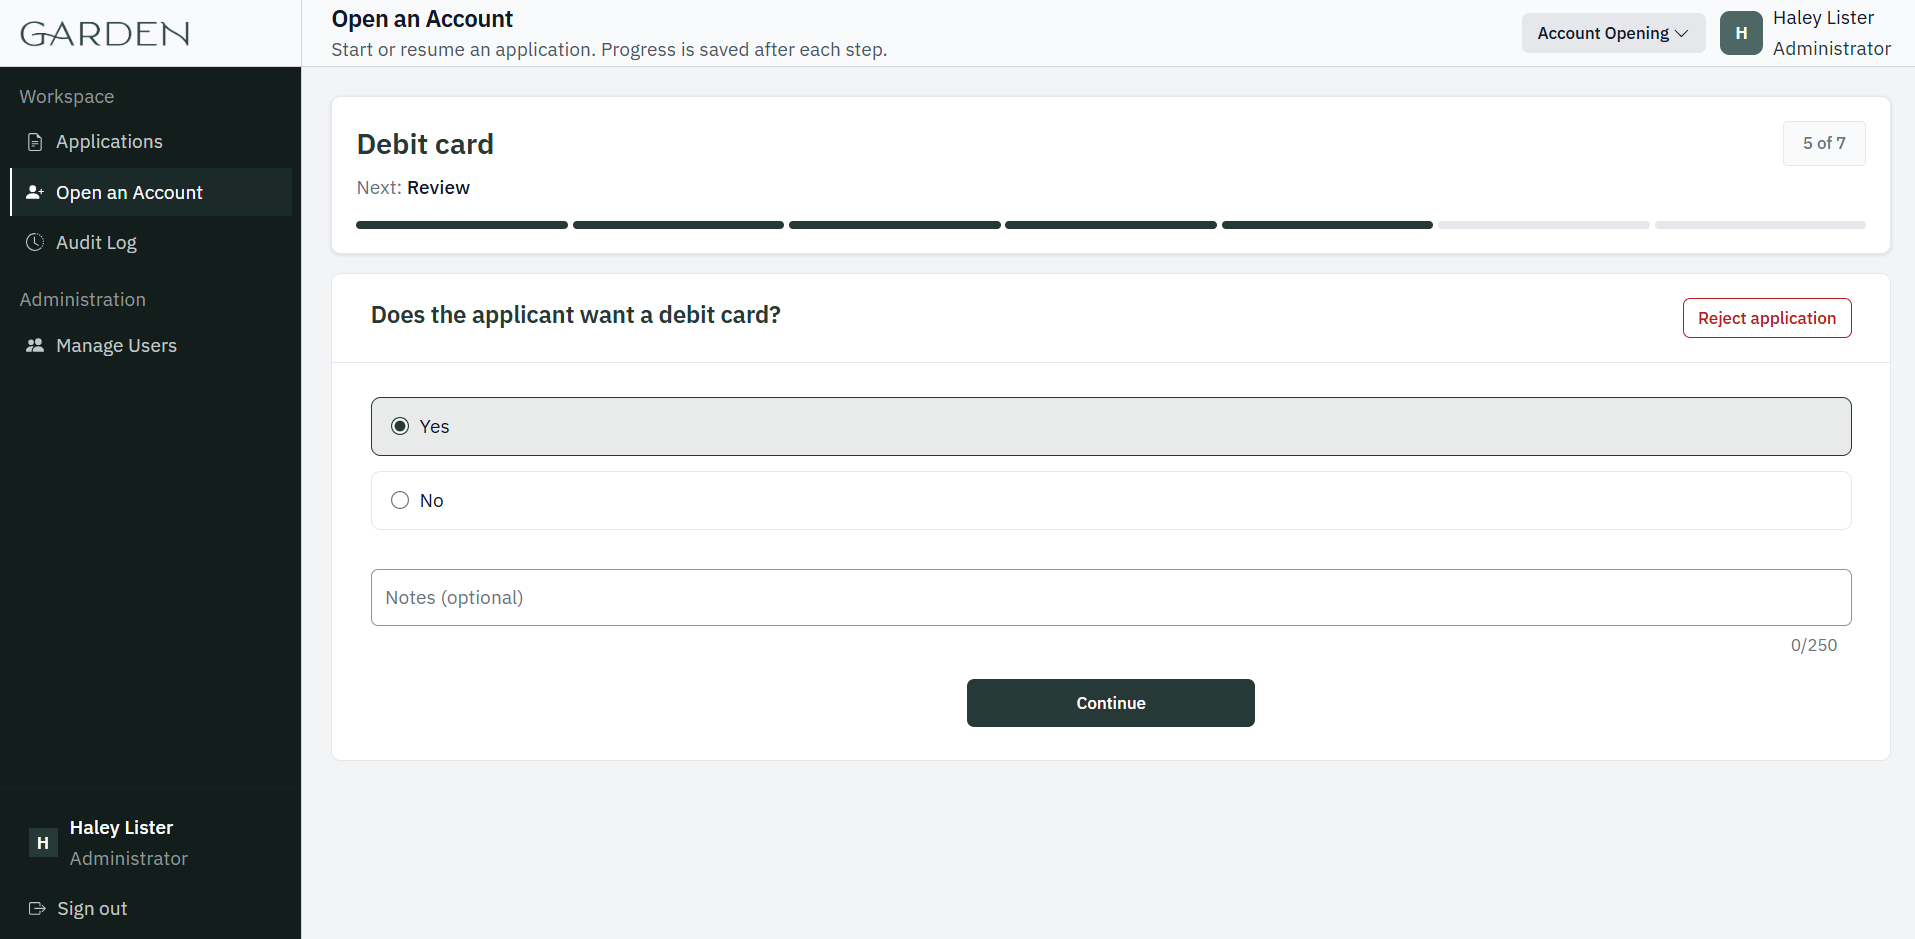
Step 6: Review
Check every section, use Edit to fix anything, then click Submit.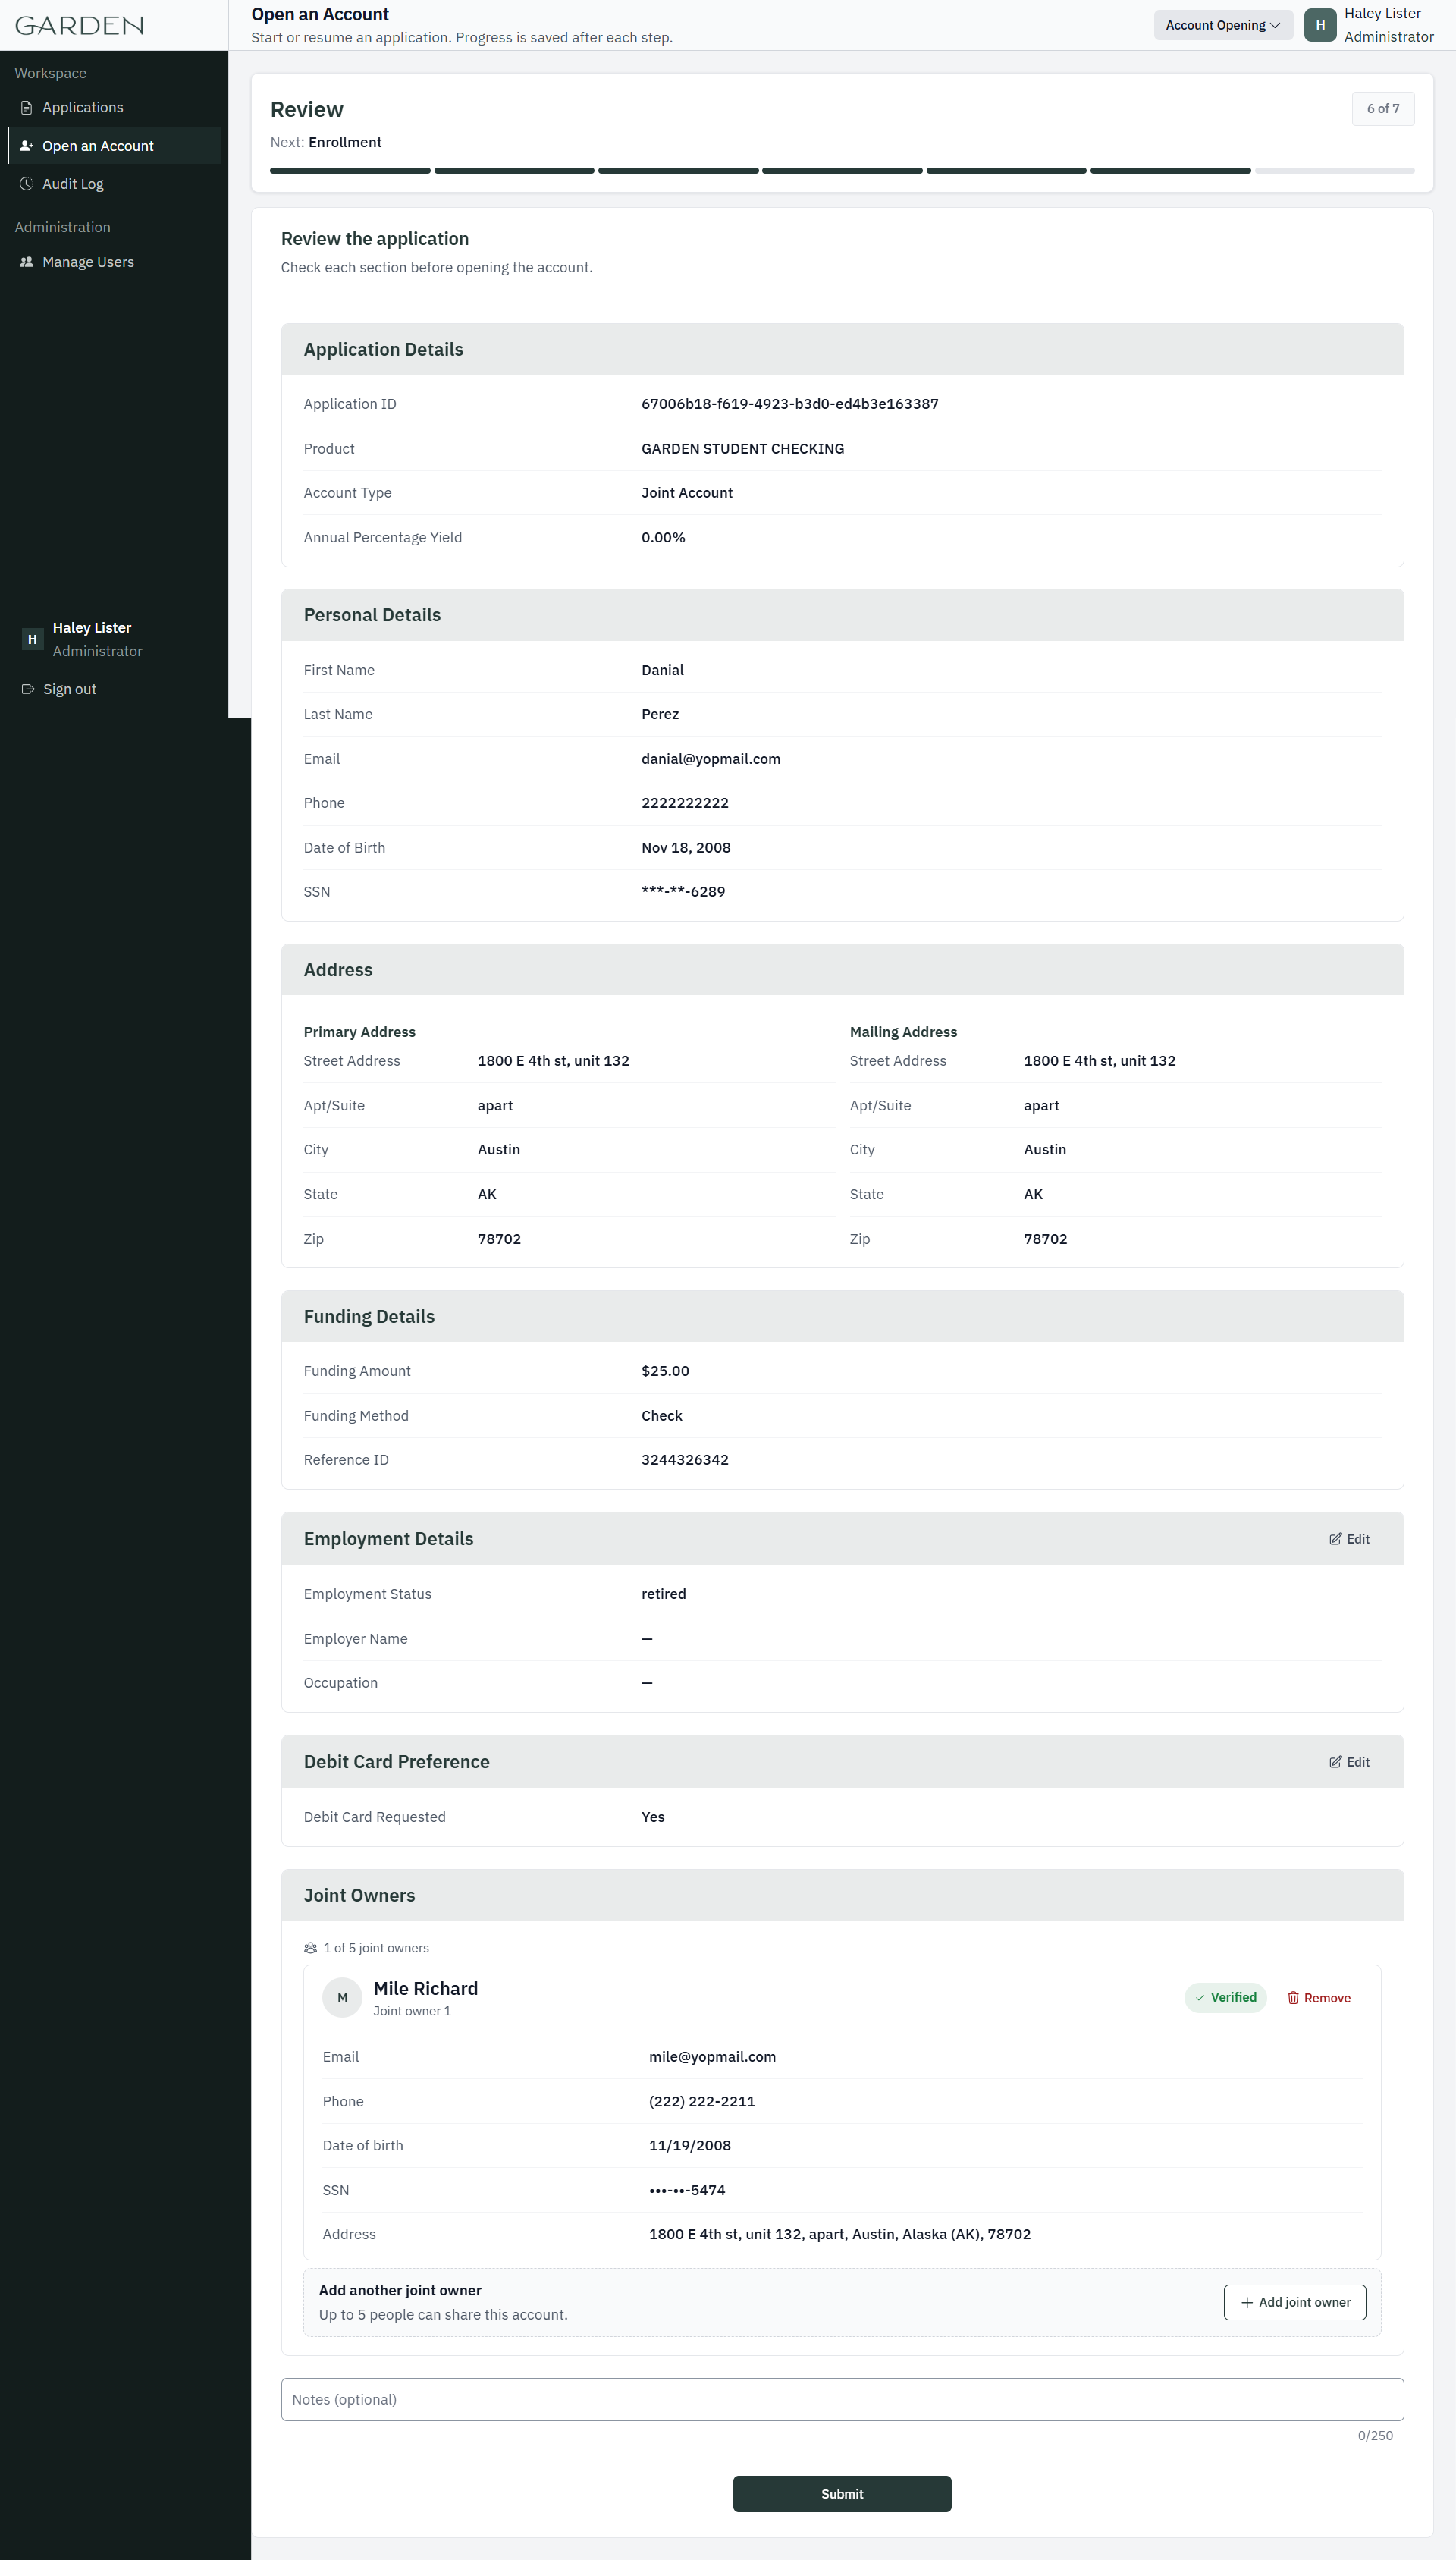
Step 7: Enrollment
Enter a username for the applicant and click Continue to enroll them in Banno online banking.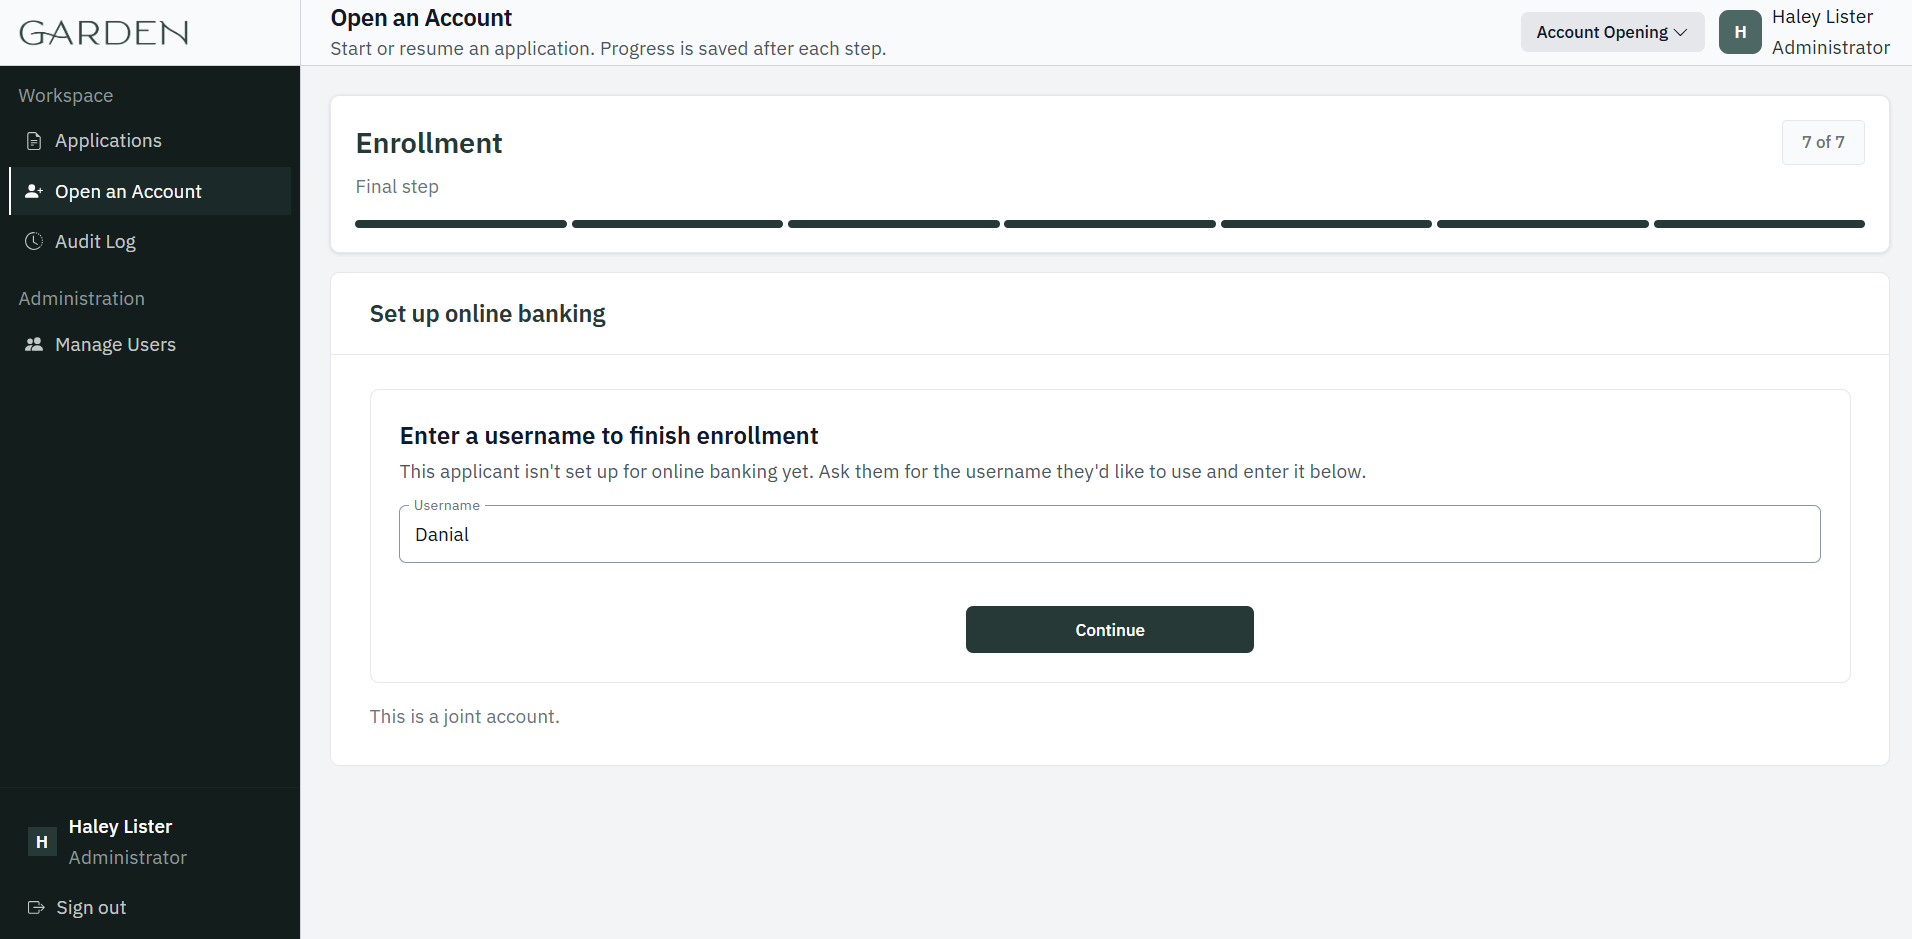
Account opened
The new account details appear. Click Back to Applications to finish.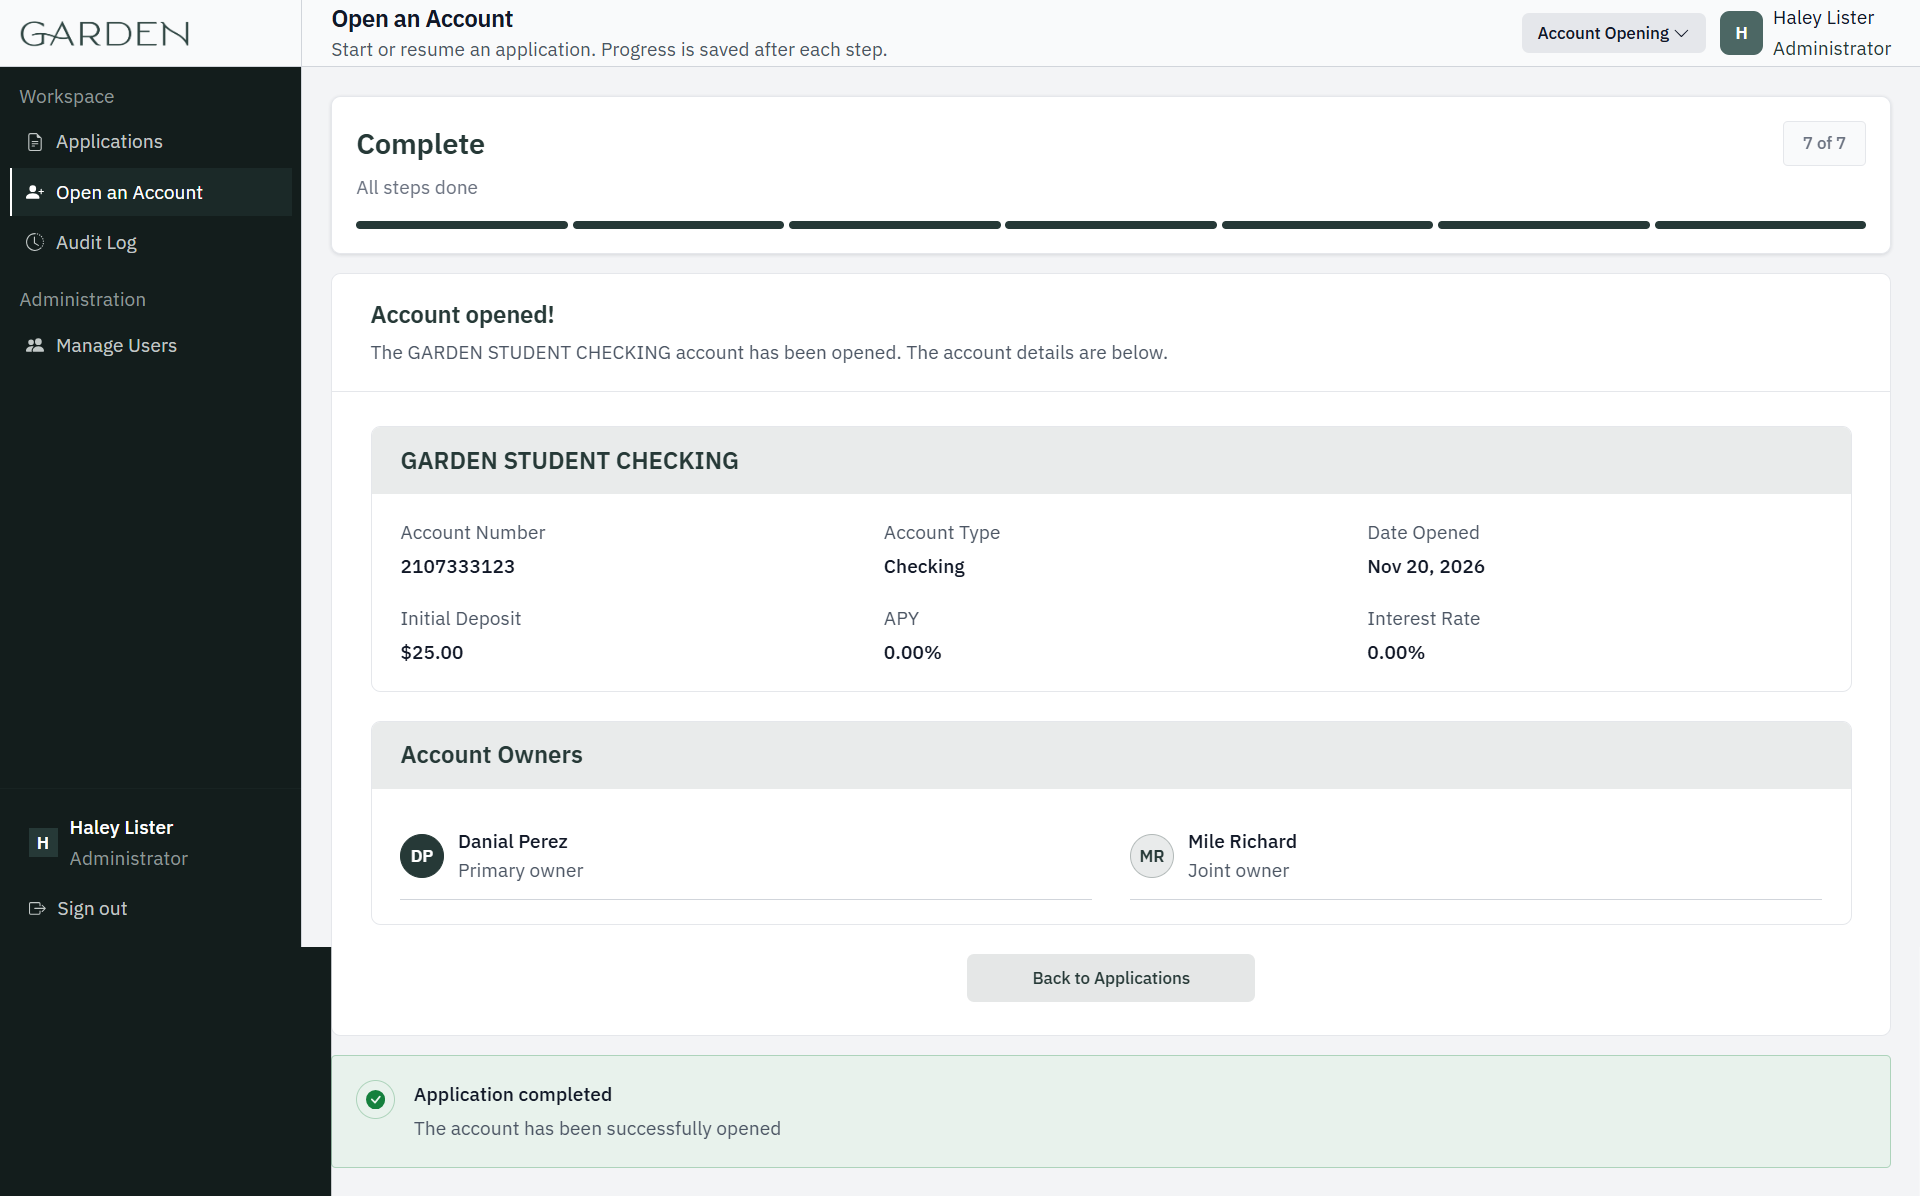
4. Audit Log
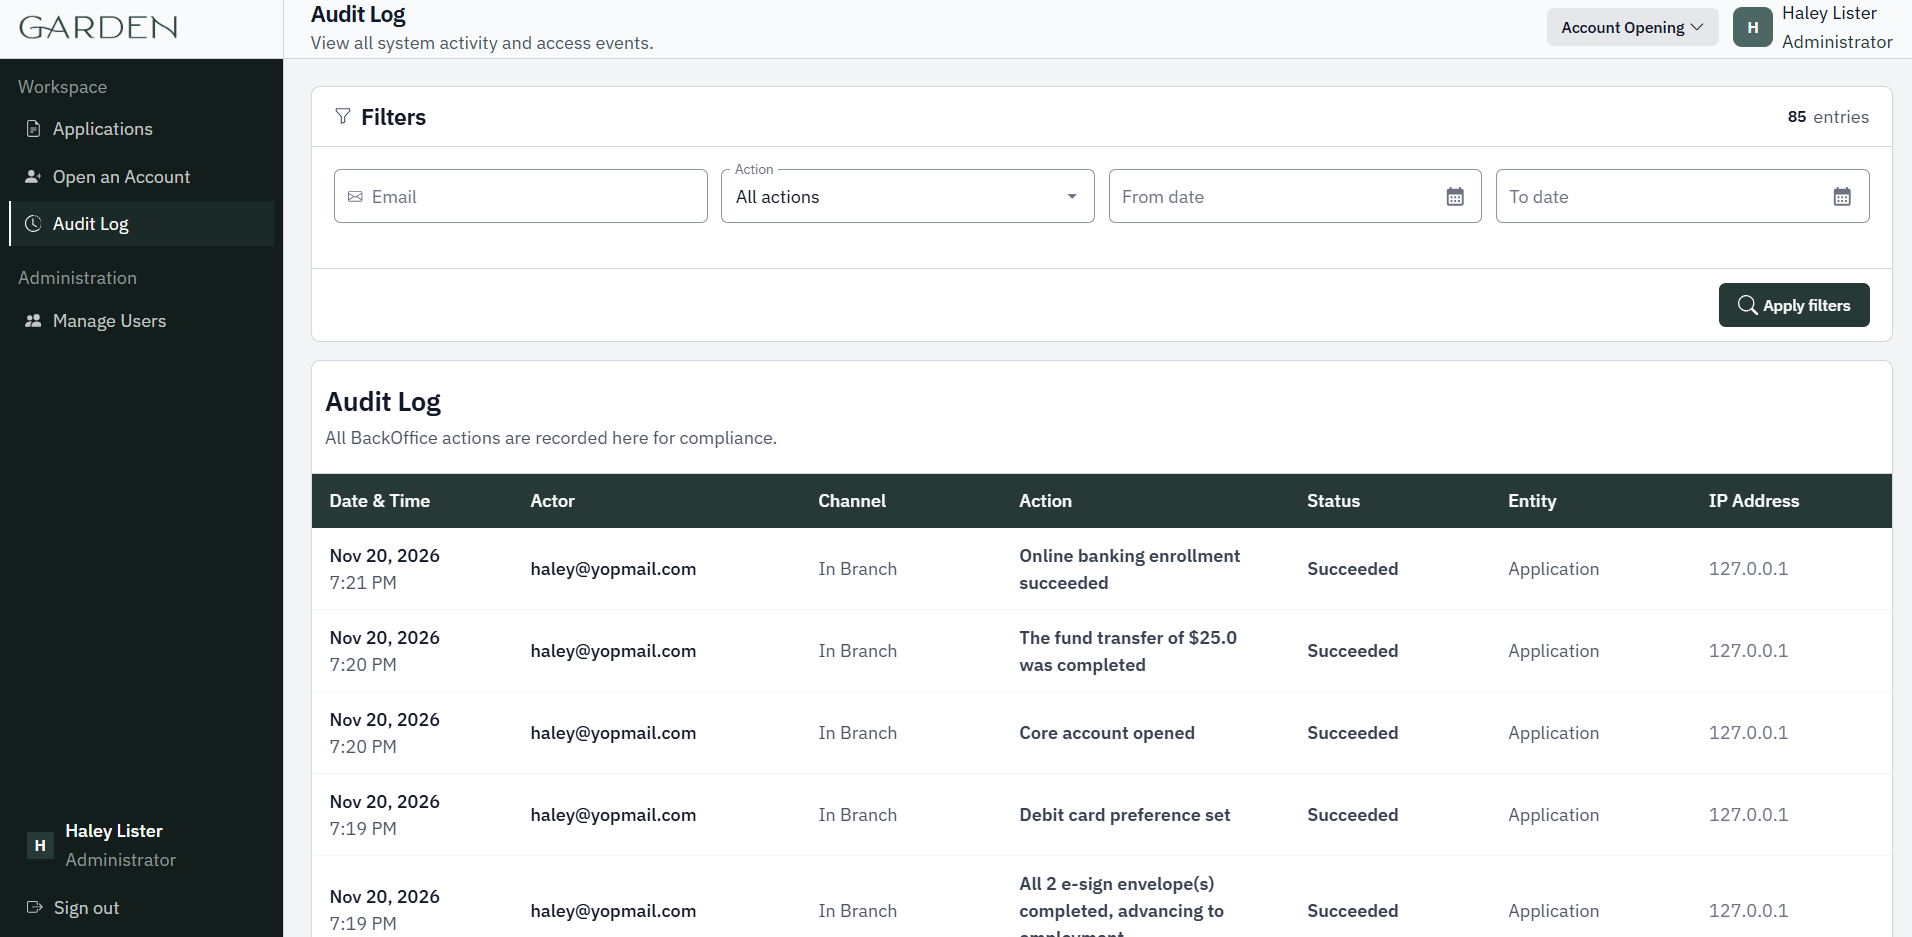 Every staff action is recorded here. Filter by email, action, or date, then click Apply filters.
5. Manage Users
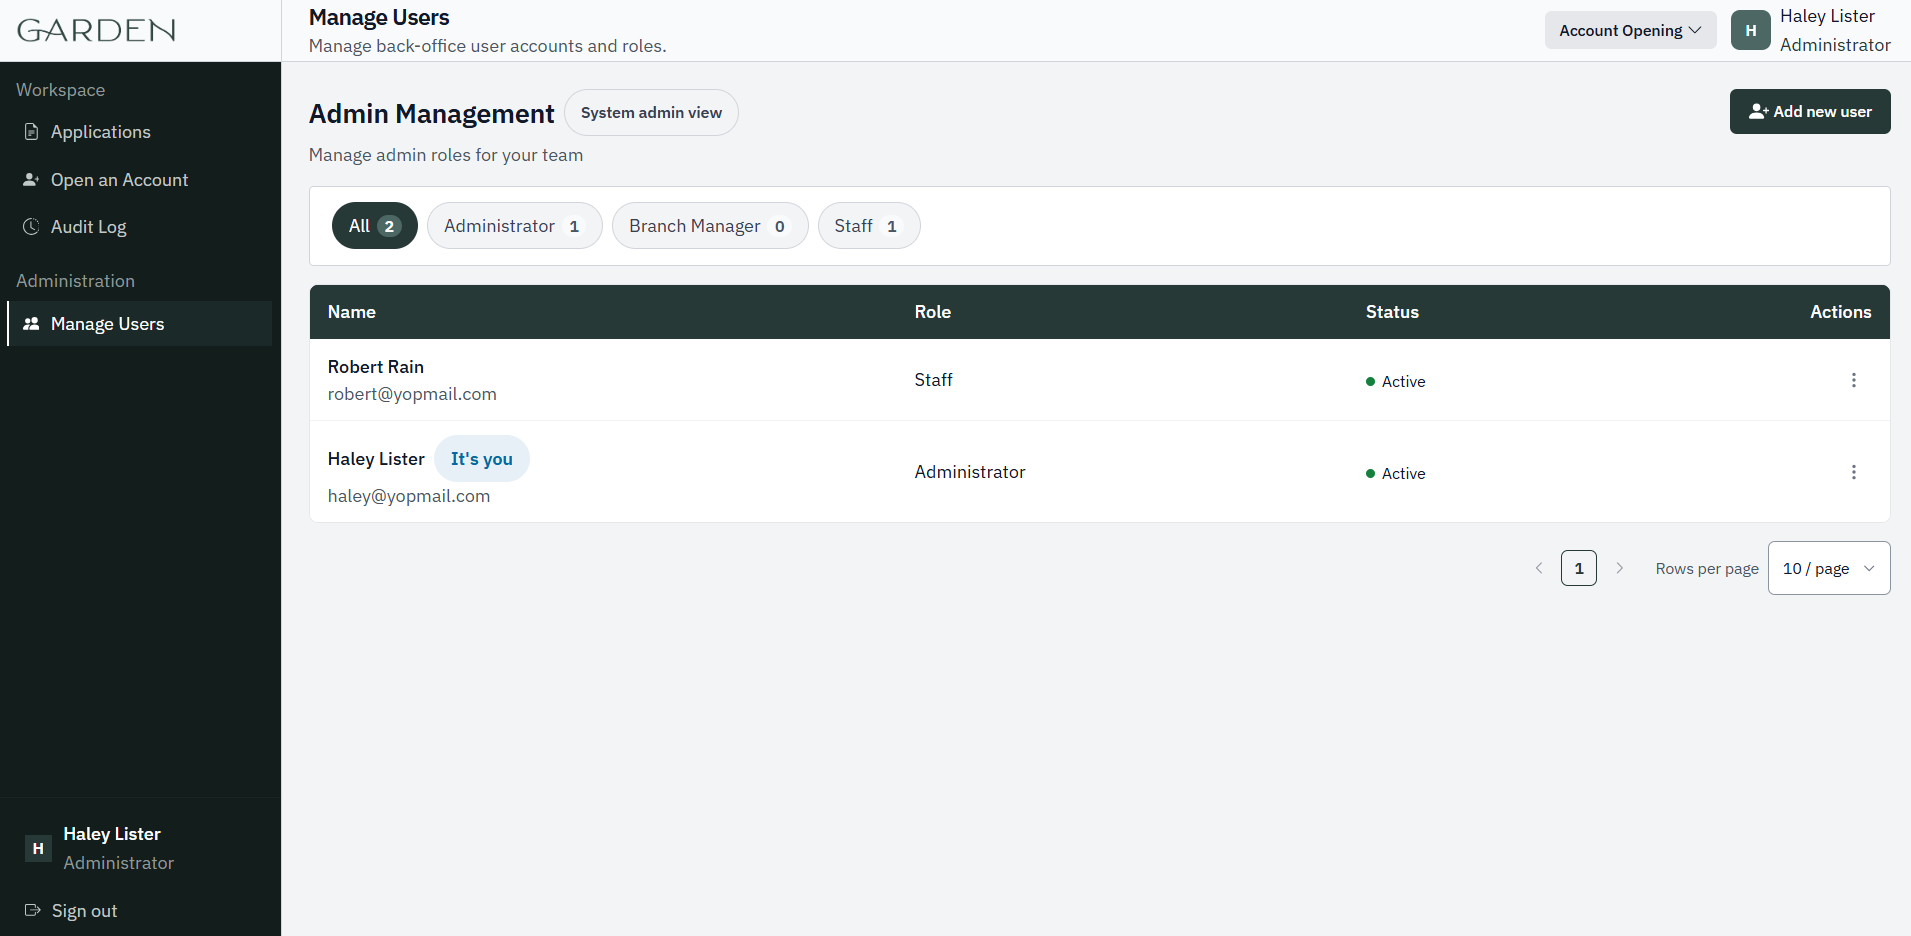 Administrators click Add new user to invite staff and use the row menu to change roles.
6. Pending Applications
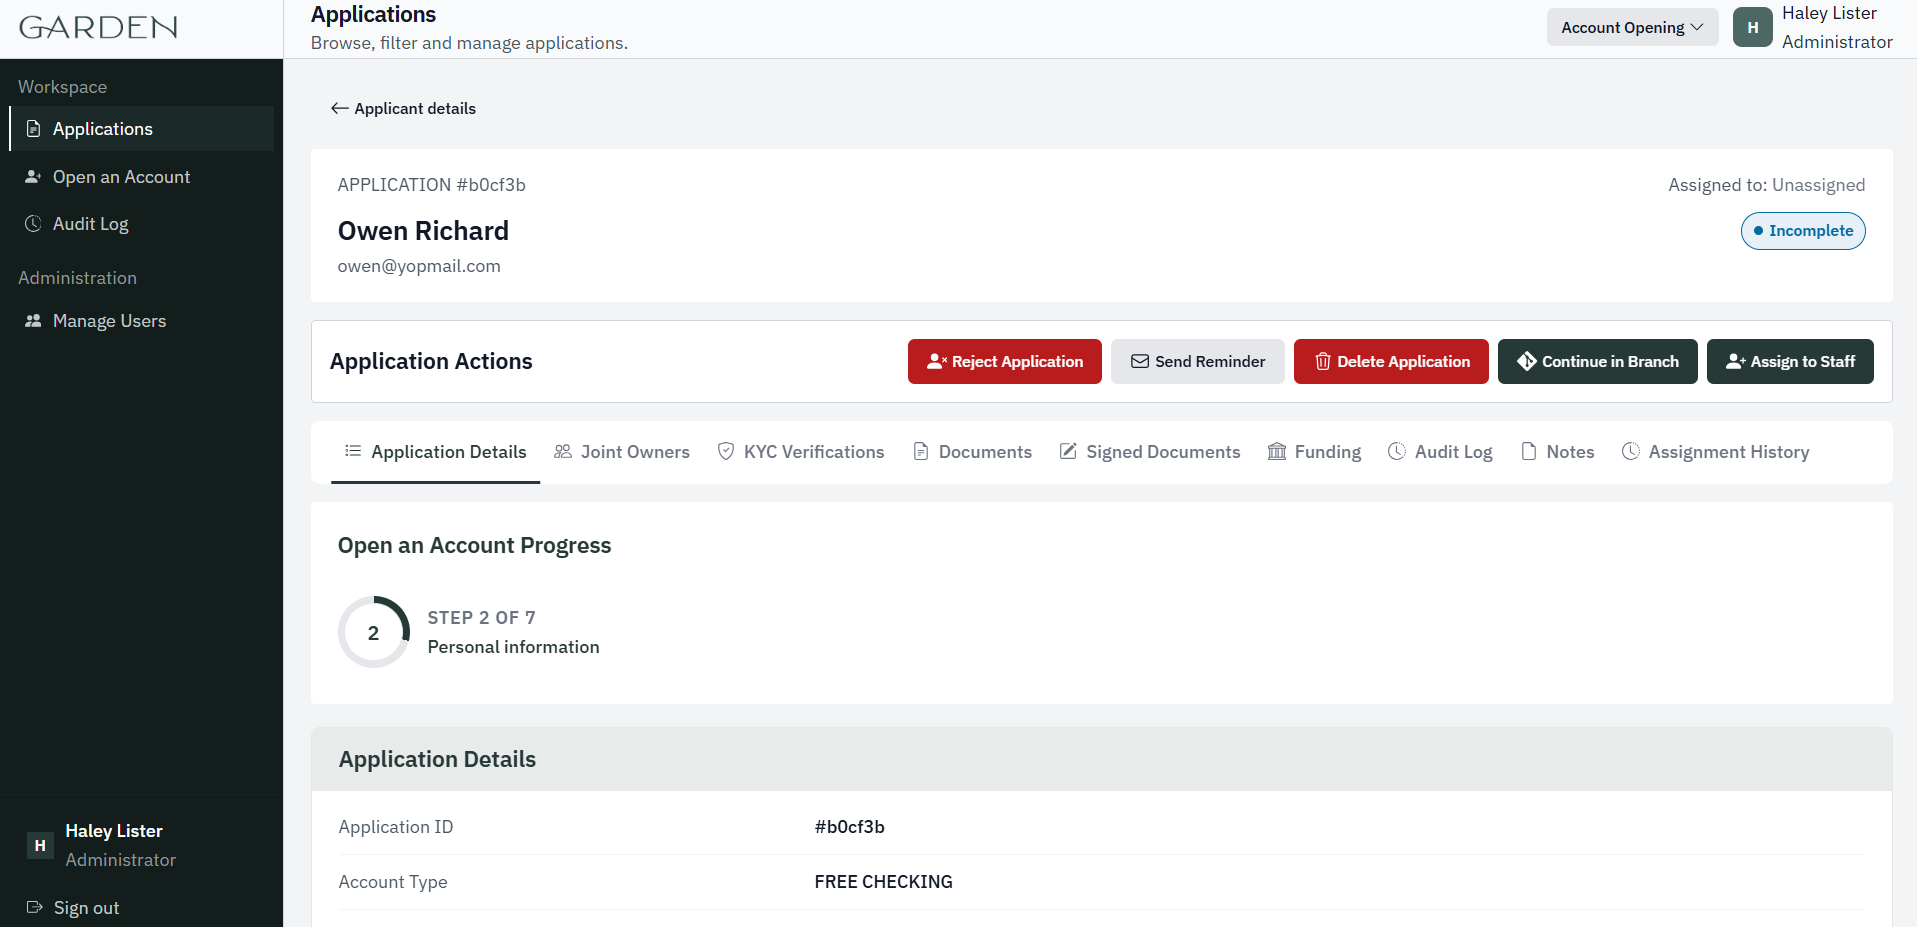 Click a pending application in the Applications list to open it. The buttons at the top depend on its status and your role.
The tabs below show the details, joint owners, ID checks, documents, funding, activity, and notes.